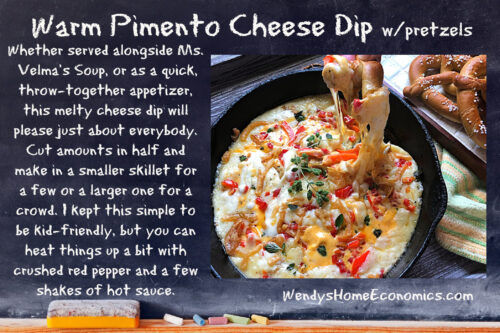
Warm Pimento Cheese Dip with Pretzels
Warm Pimento Cheese Dip with Pretzels ...keep reading »
…babblings and stuff that simply don’t fit anywhere else!

Who doesn’t love garlic bread? Especially with my Cafeteria Baked Spaghetti! This creamy spread can be kept in the fridge for a while for making crispy garlic ranch toast anytime.
Crispy Ranch Garlic Toast ~ K & W Copycat ...keep reading »
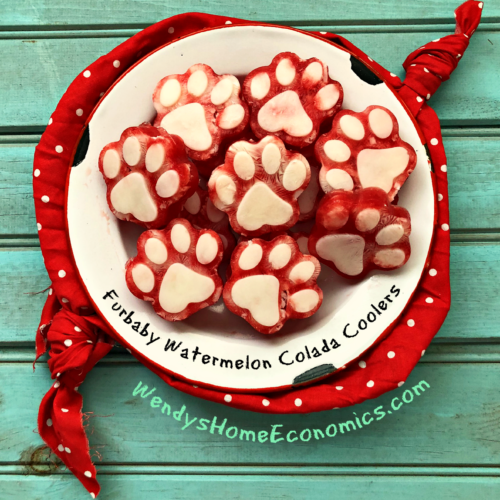
Are you a furbaby mom or dad? I am… mama to June Bug, my sweet little blind Speagle. She loves treats, especially this one. These Furbaby Watermelon Colada Coolers
Furbaby Watermelon Colada Coolers ...keep reading »
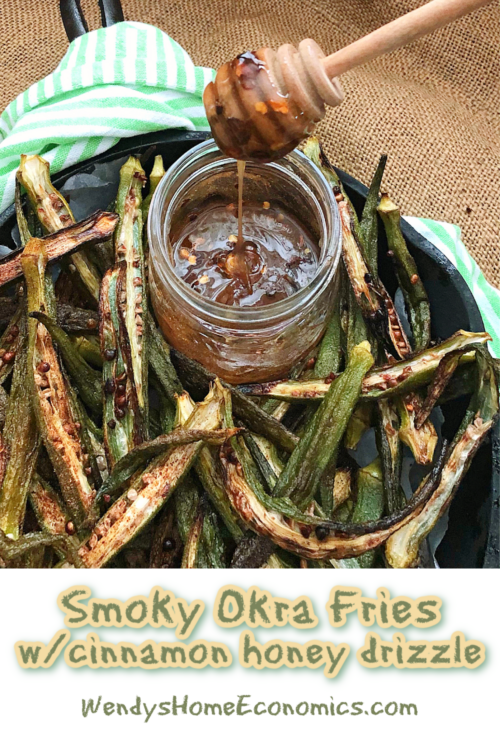
Fries and a burger, ho hum. Flip a switch on those boring fries by serving okra! Easy to make and best when hot, these smoky okra fries are still tasty at room temperature. Add the sweet and savory honey drizzle over these crispy fries—woo hoo!
Smoky Okra Fries with Cinnamon Honey Drizzle ...keep reading »
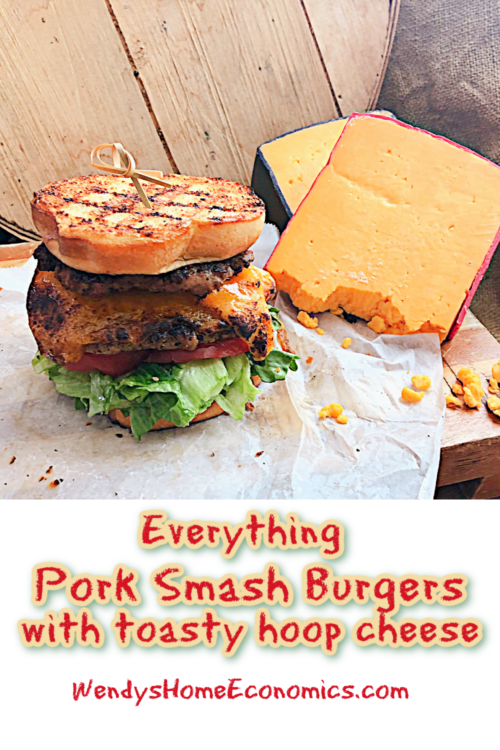
Smashburgers! or Smash Burgers? No matter which you way you prefer, they’re everywhere these days… but do you know what that actually means? My definition is a good
Everything Pork Smash Burgers with Toasty Hoop Cheese ...keep reading »
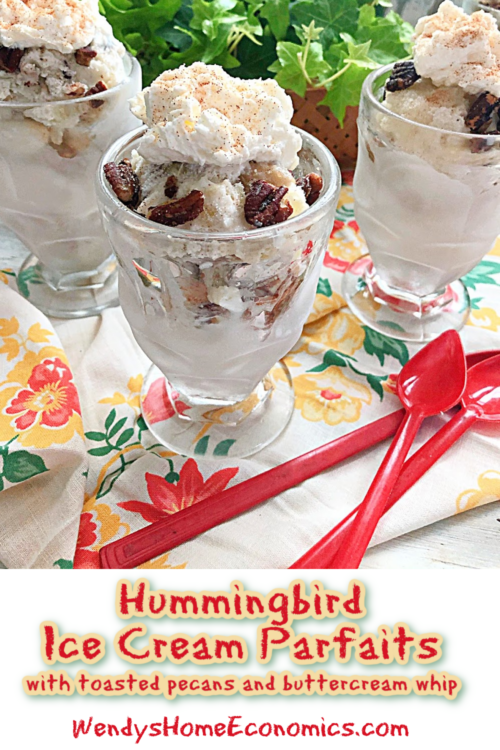
Such a southern thing, the hummingbird cake. Although its history is shrouded in mystery and conflicting tales of its origins, its key ingredients have remained the same over the
Hummingbird Ice Cream Parfaits with toasted pecans and buttercream whip ...keep reading »
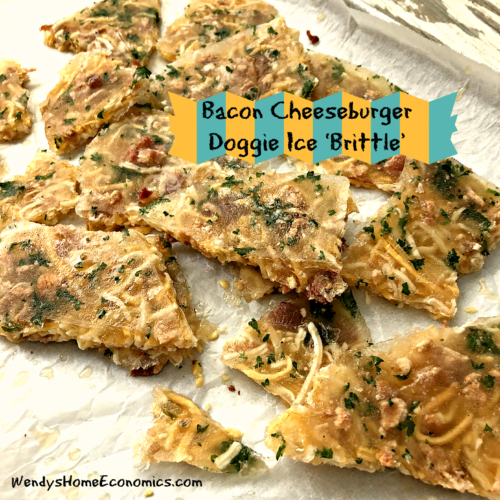
These homemade dog treats are a cool treat on hot summer days for your fur baby pooches! Make this easy Bacon Cheeseburger Ice Brittle for yours to have on hand for a frosty treat from the freezer.
Bacon Cheeseburger Ice Brittle for pups ...keep reading »

These crunchy seafood treats will make your cats happy. Grits aren’t great for them, but when corn is ground into meal, it’s safe for making these little shrimp nuggets. You can sub canned tuna for the shrimp if preferred. My dog loves these, too!
Kitty Shrimp & “Grits” Bites ...keep reading »
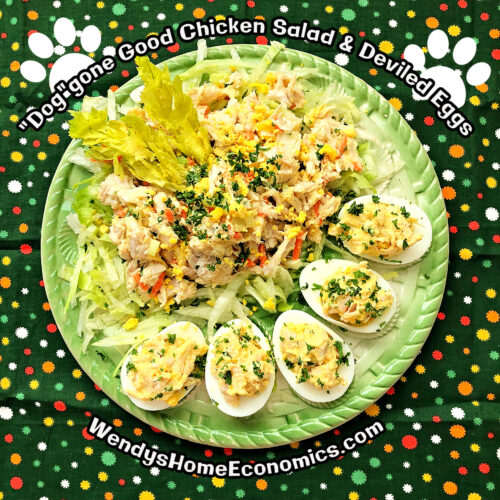
Well of course any Southern picnic needs chicken salad — and deviled eggs! Including those for your furbabies.
Doggone Good Chicken Salad & Deviled Eggs ~ treats for your furbabies ...keep reading »

This one might sound a bit odd, but do give them a try. They add a fun little pickled crunch to deviled eggs, sandwiches, meats, salads and dips.
Hot n’Honey Dill Pickled Mustard Seeds ...keep reading »
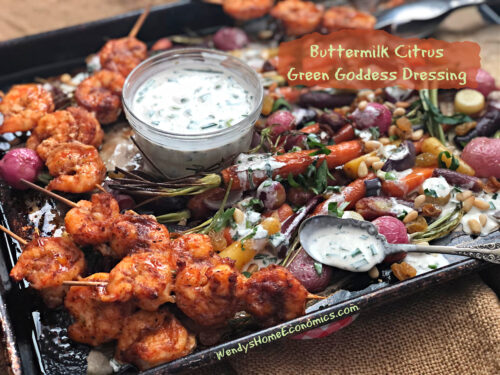
Here’s an old dressing with a bright twist thanks to some citrus alternatives to the standard lemon. Super simple to throw together, it’s free of preservatives and packed with vibrant flavor. Use as a sandwich spread, veggie dip, topping for meat and fish or a pasta sauce — the possibilities are endless!
Buttermilk Citrus Green Goddess Dressing (and roasted vegetables & shrimp skewers) ...keep reading »