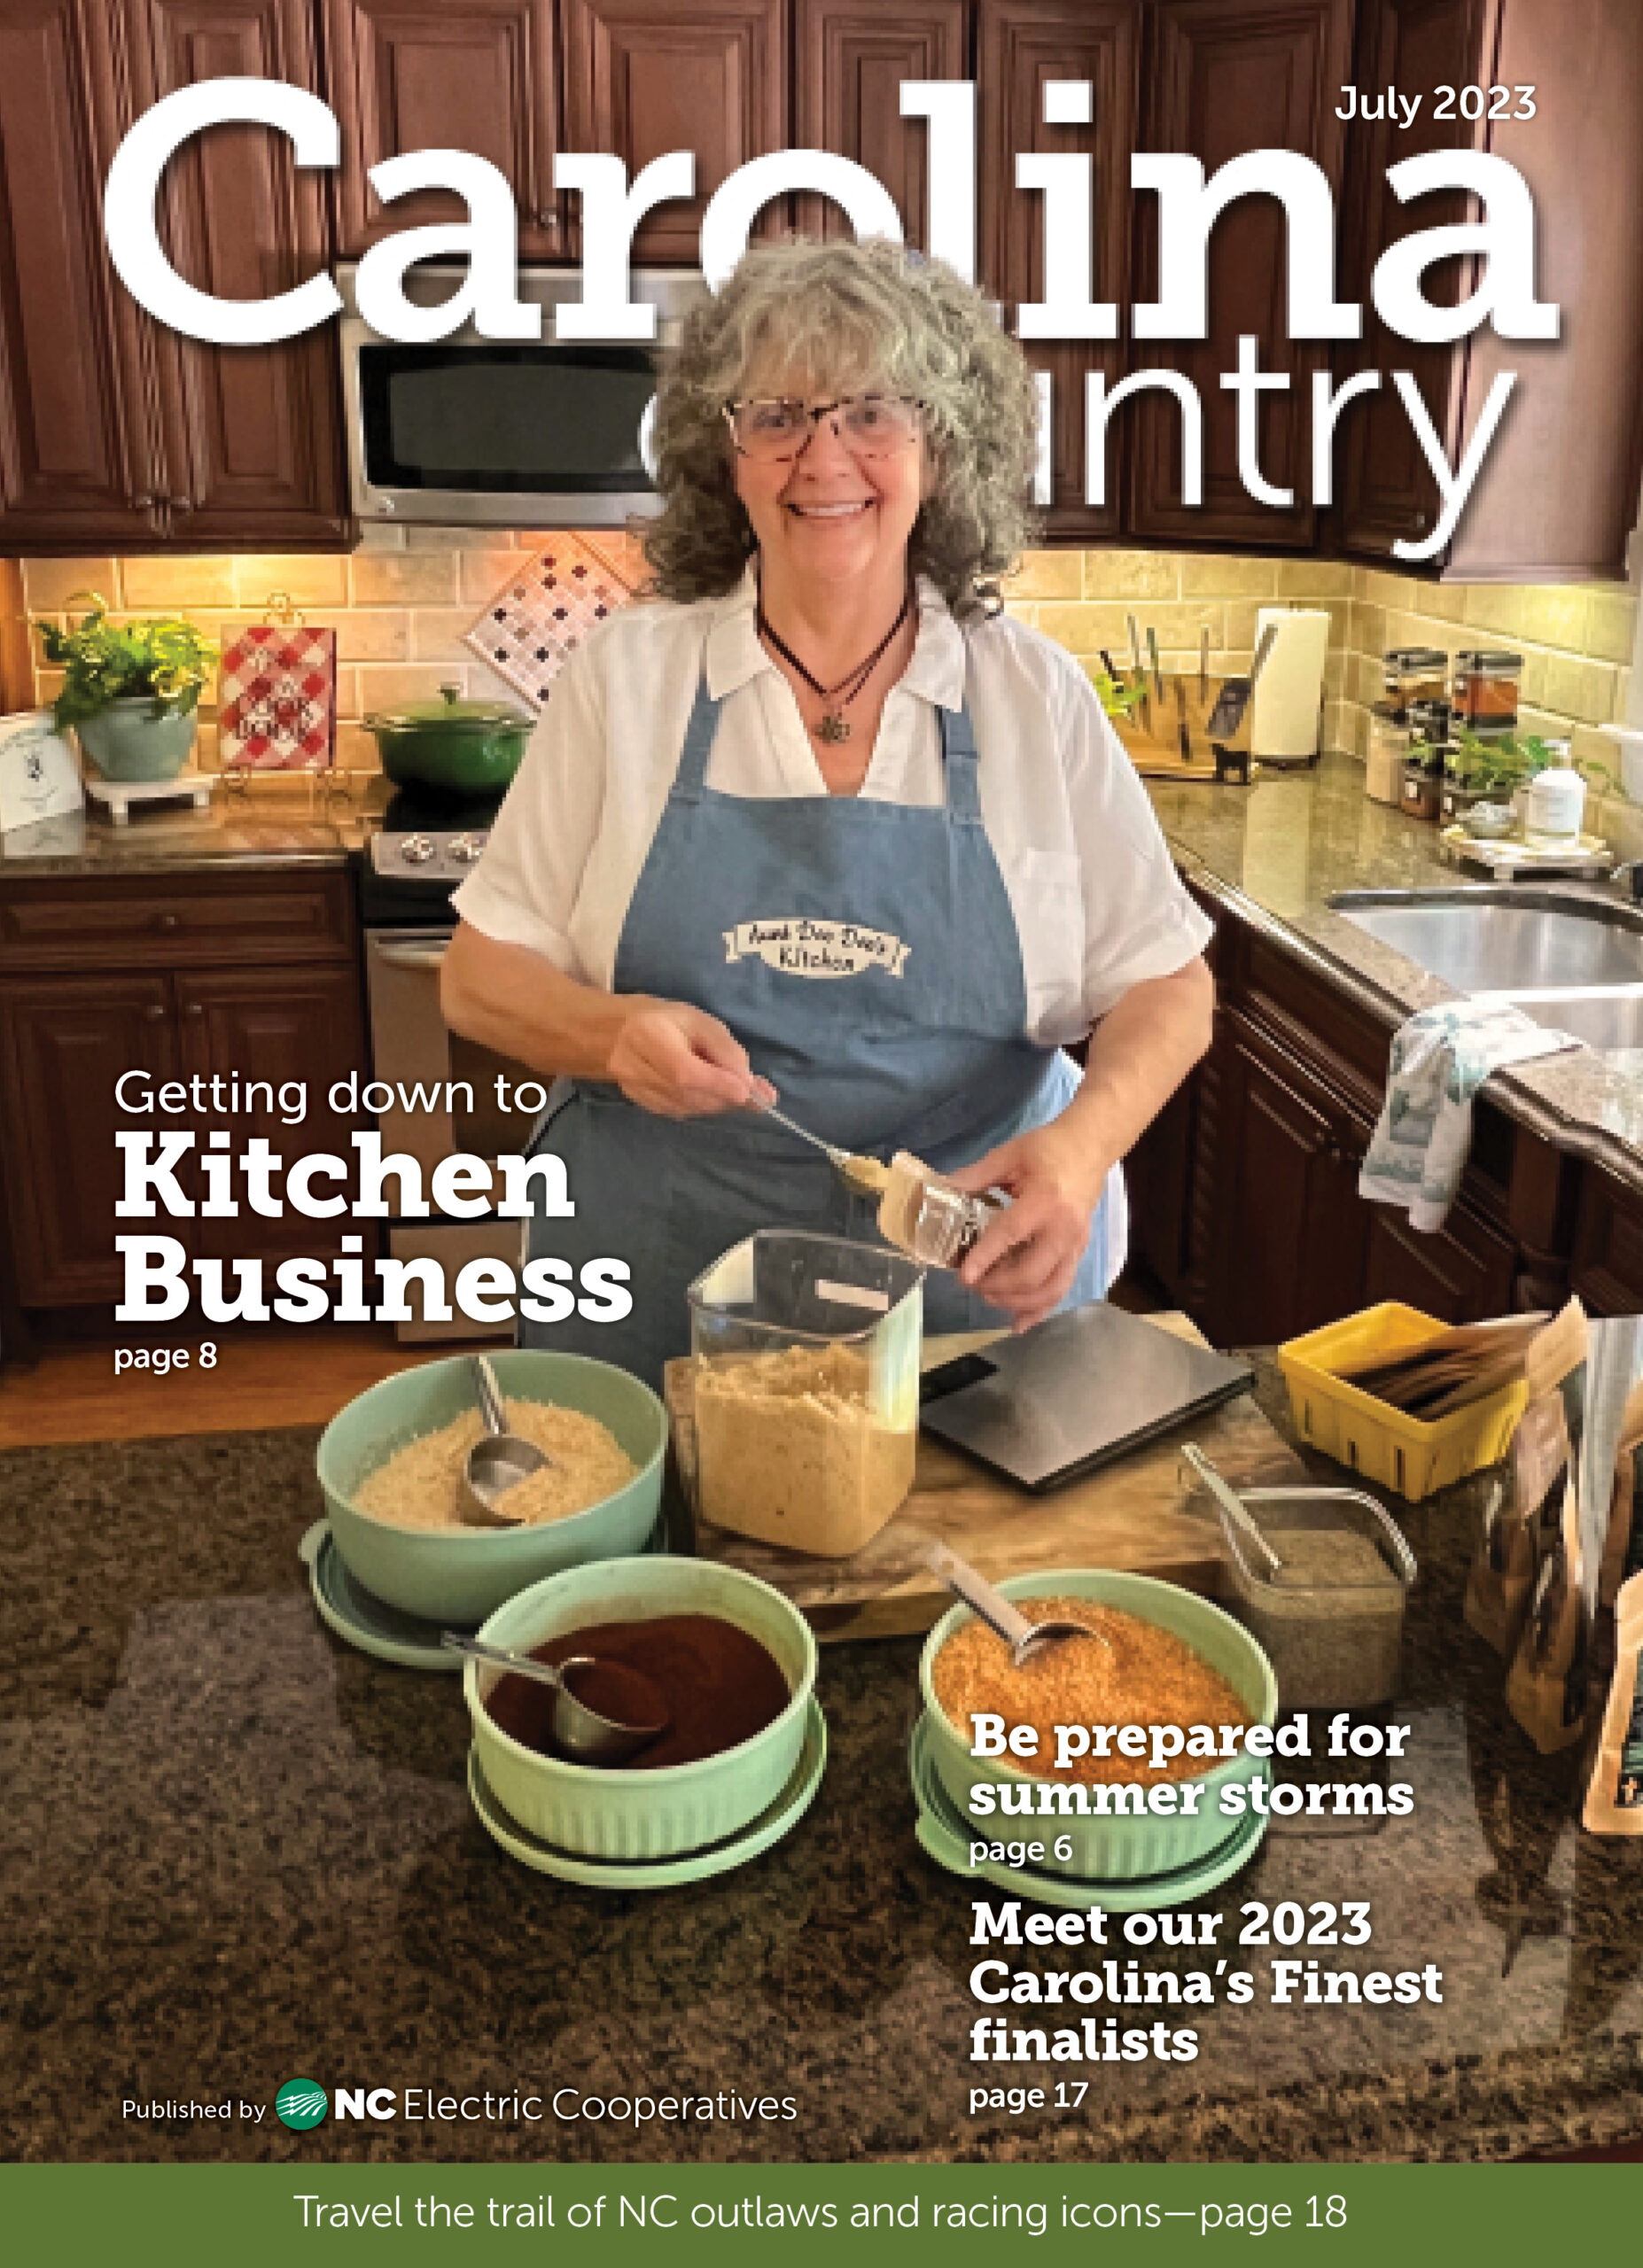
Can you start and operate a food business from your home kitchen in North Carolina?
Are you in North Carolina? Do you have the “best” cake recipe from your grandma? or baked goods? or folks say “you need to put that in a bottle and sell it?” Perhaps your home kitchen meets criteria for a home-based food permit. There ARE limitations. Read all about them here…
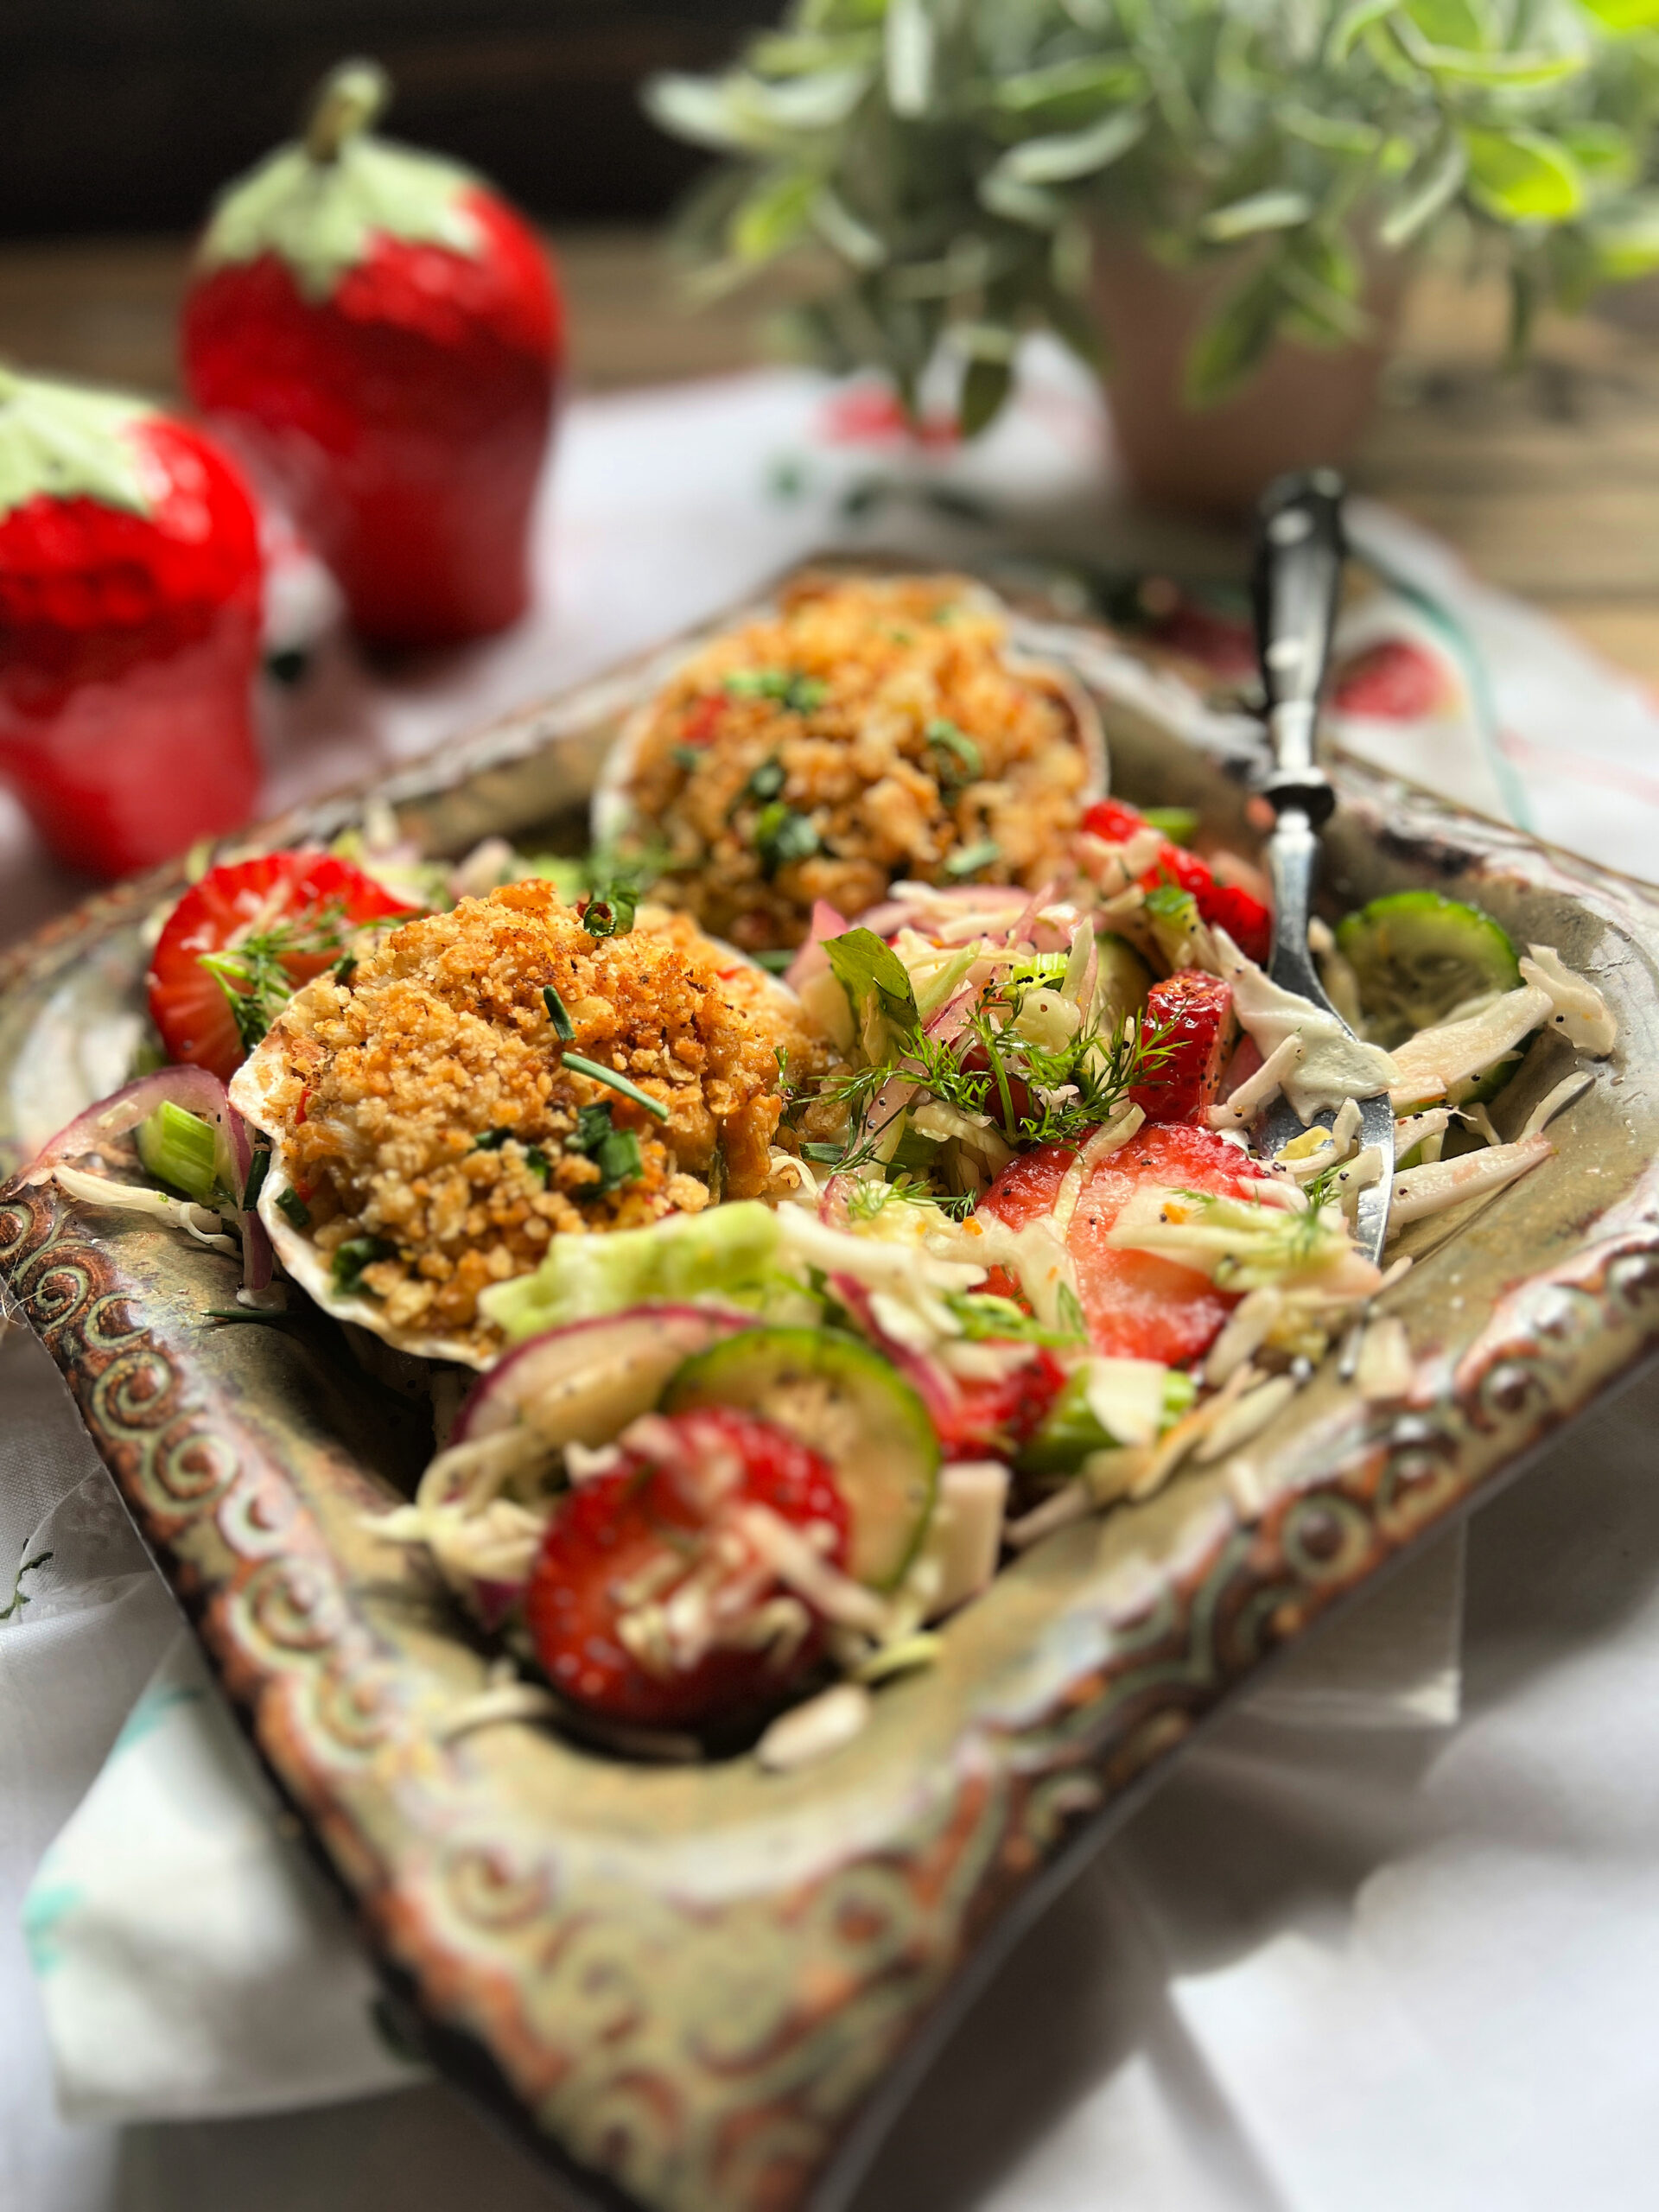
Wendy’s Deviled Crab Carteret
Being able to use any type of crabmeat makes this recipe budget-friendly. Use fresh NC crab when possible. Wonder why it’s called “deviled” crab? Because of the heat!
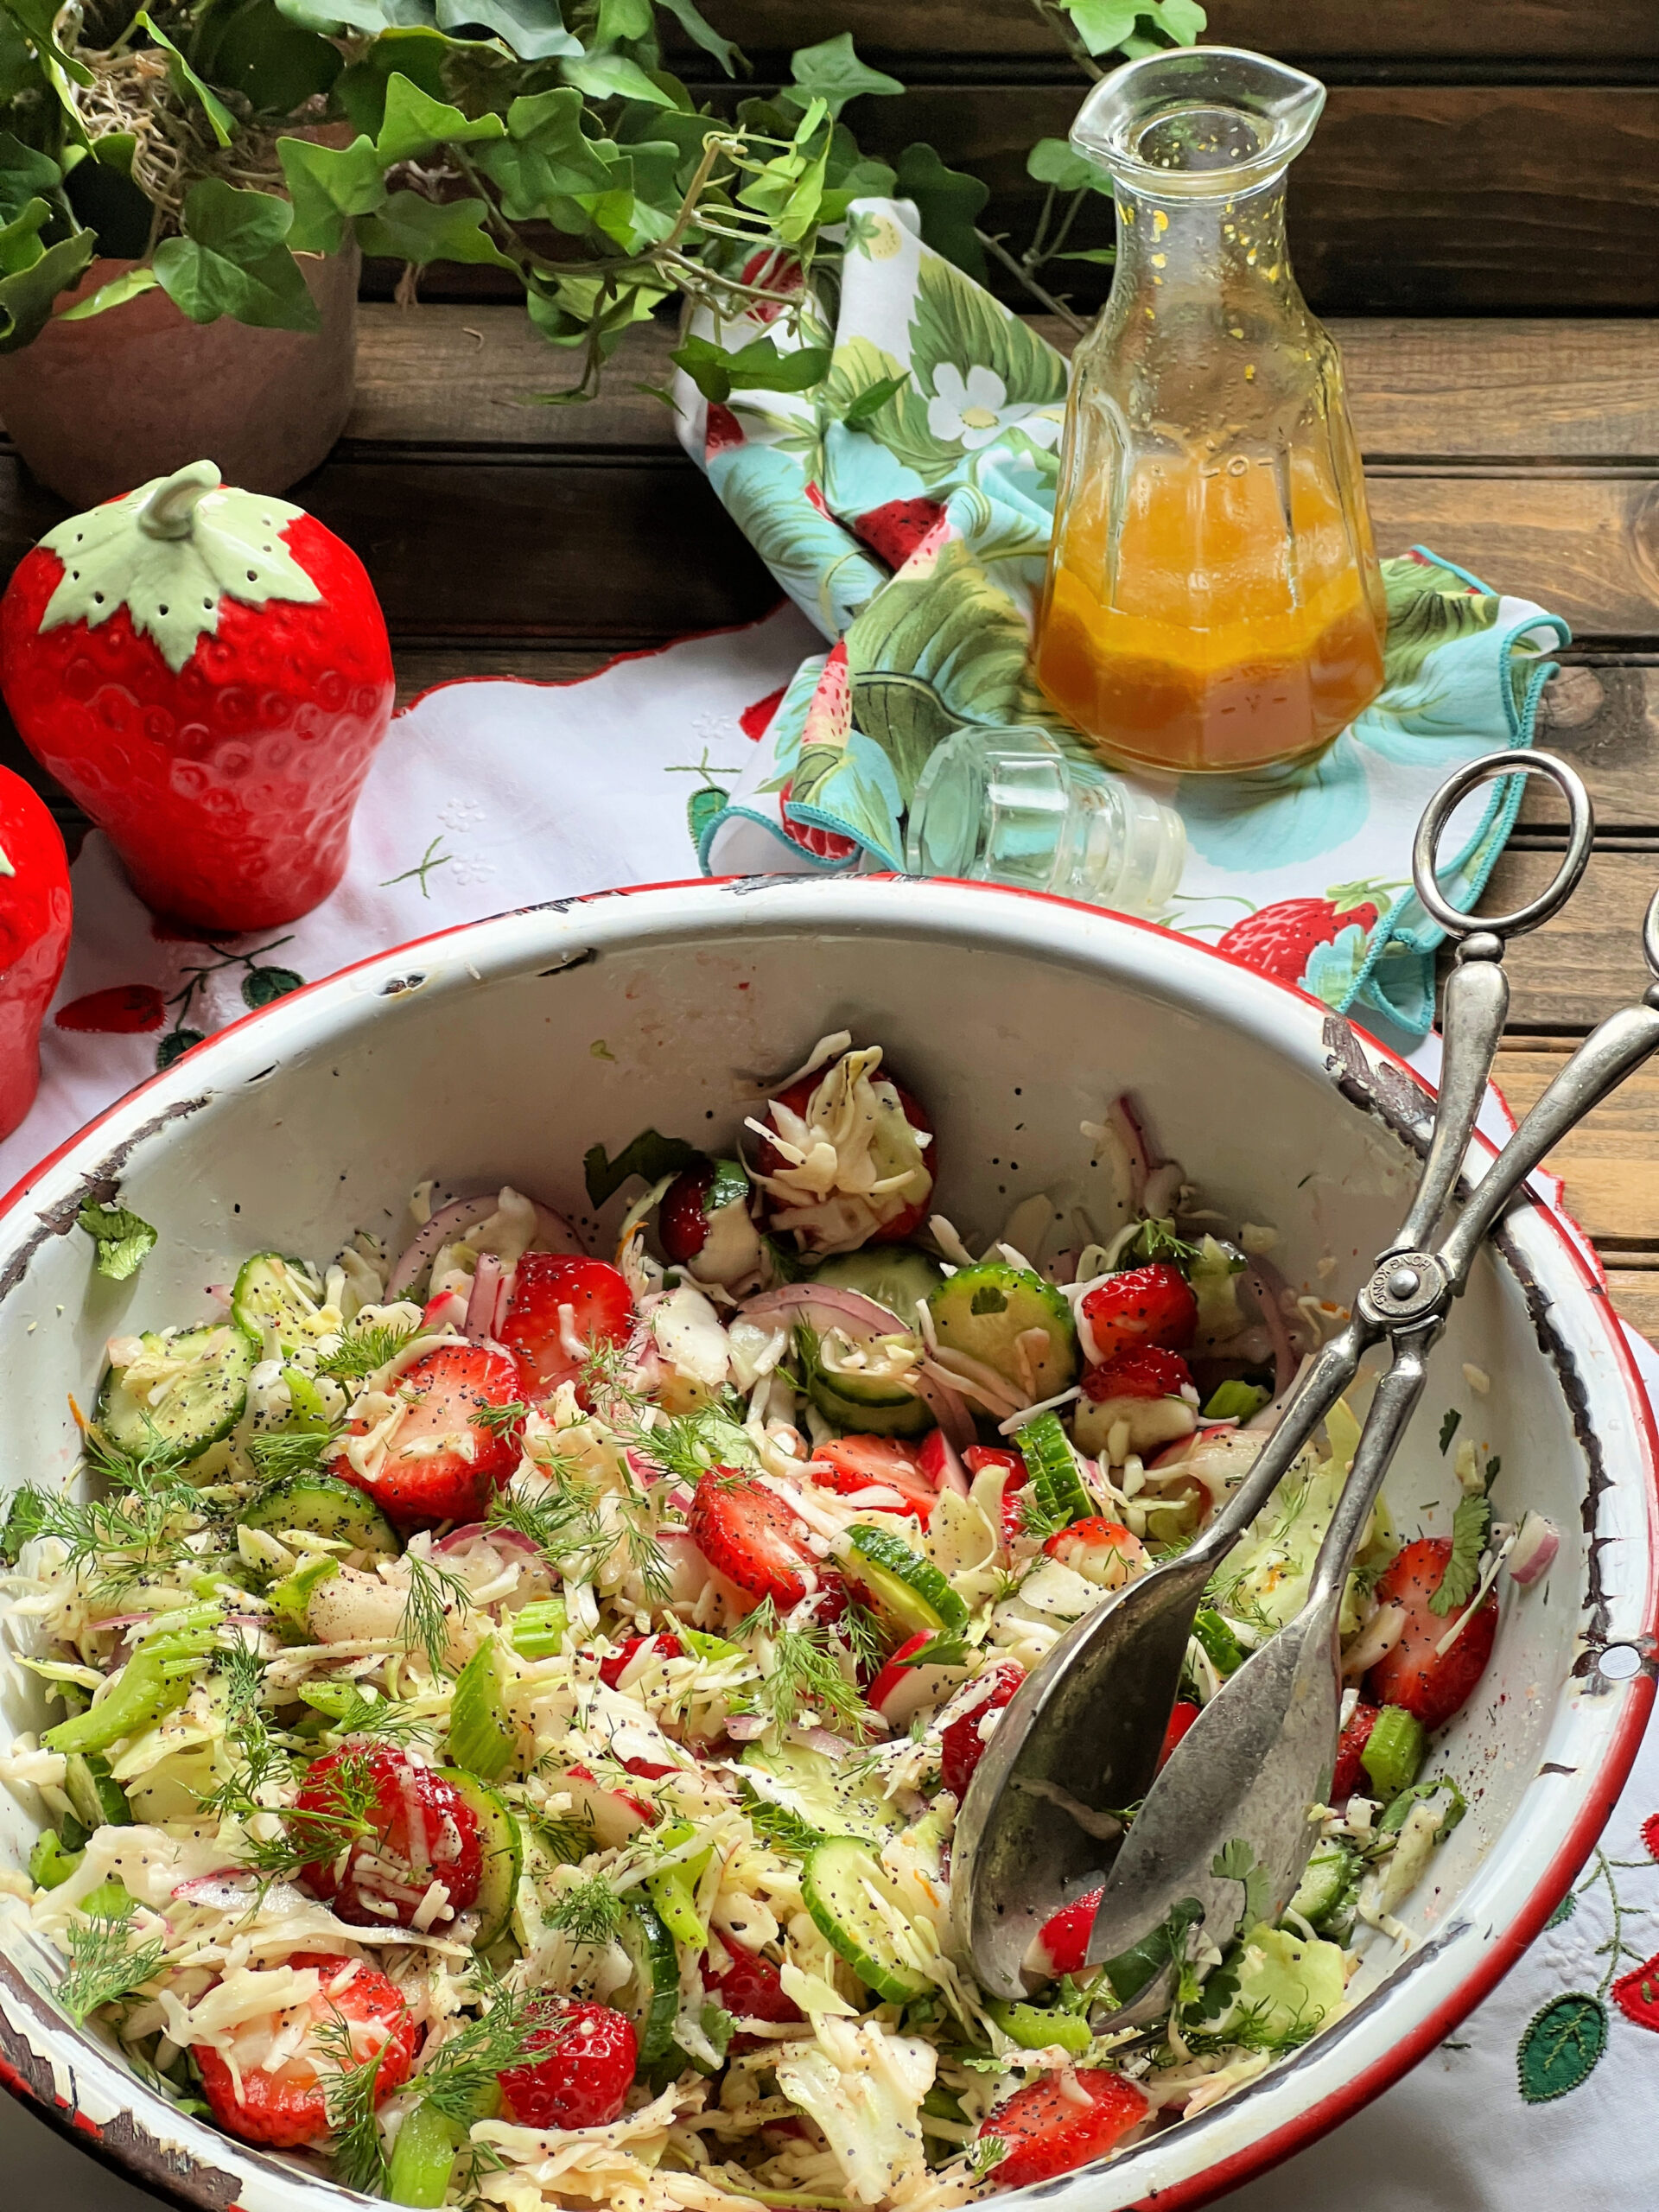
Spring Strawberry Slaw with honey citrus dressing
We know spring has arrived when we see strawberry fields opening all around! Stop by your local farm and get some to make my citrusy fresh strawberry slaw, great to serve alongside all sorts of things, especially my deviled crab.

Rufus’s Healthy PupHash… mama’s answer to pet food worries!
Do you want to feed your pooch healthy wholesome food? No idea where to turn? Maybe they will enjoy Rufus’s recipe. He licks the bowl clean every time!
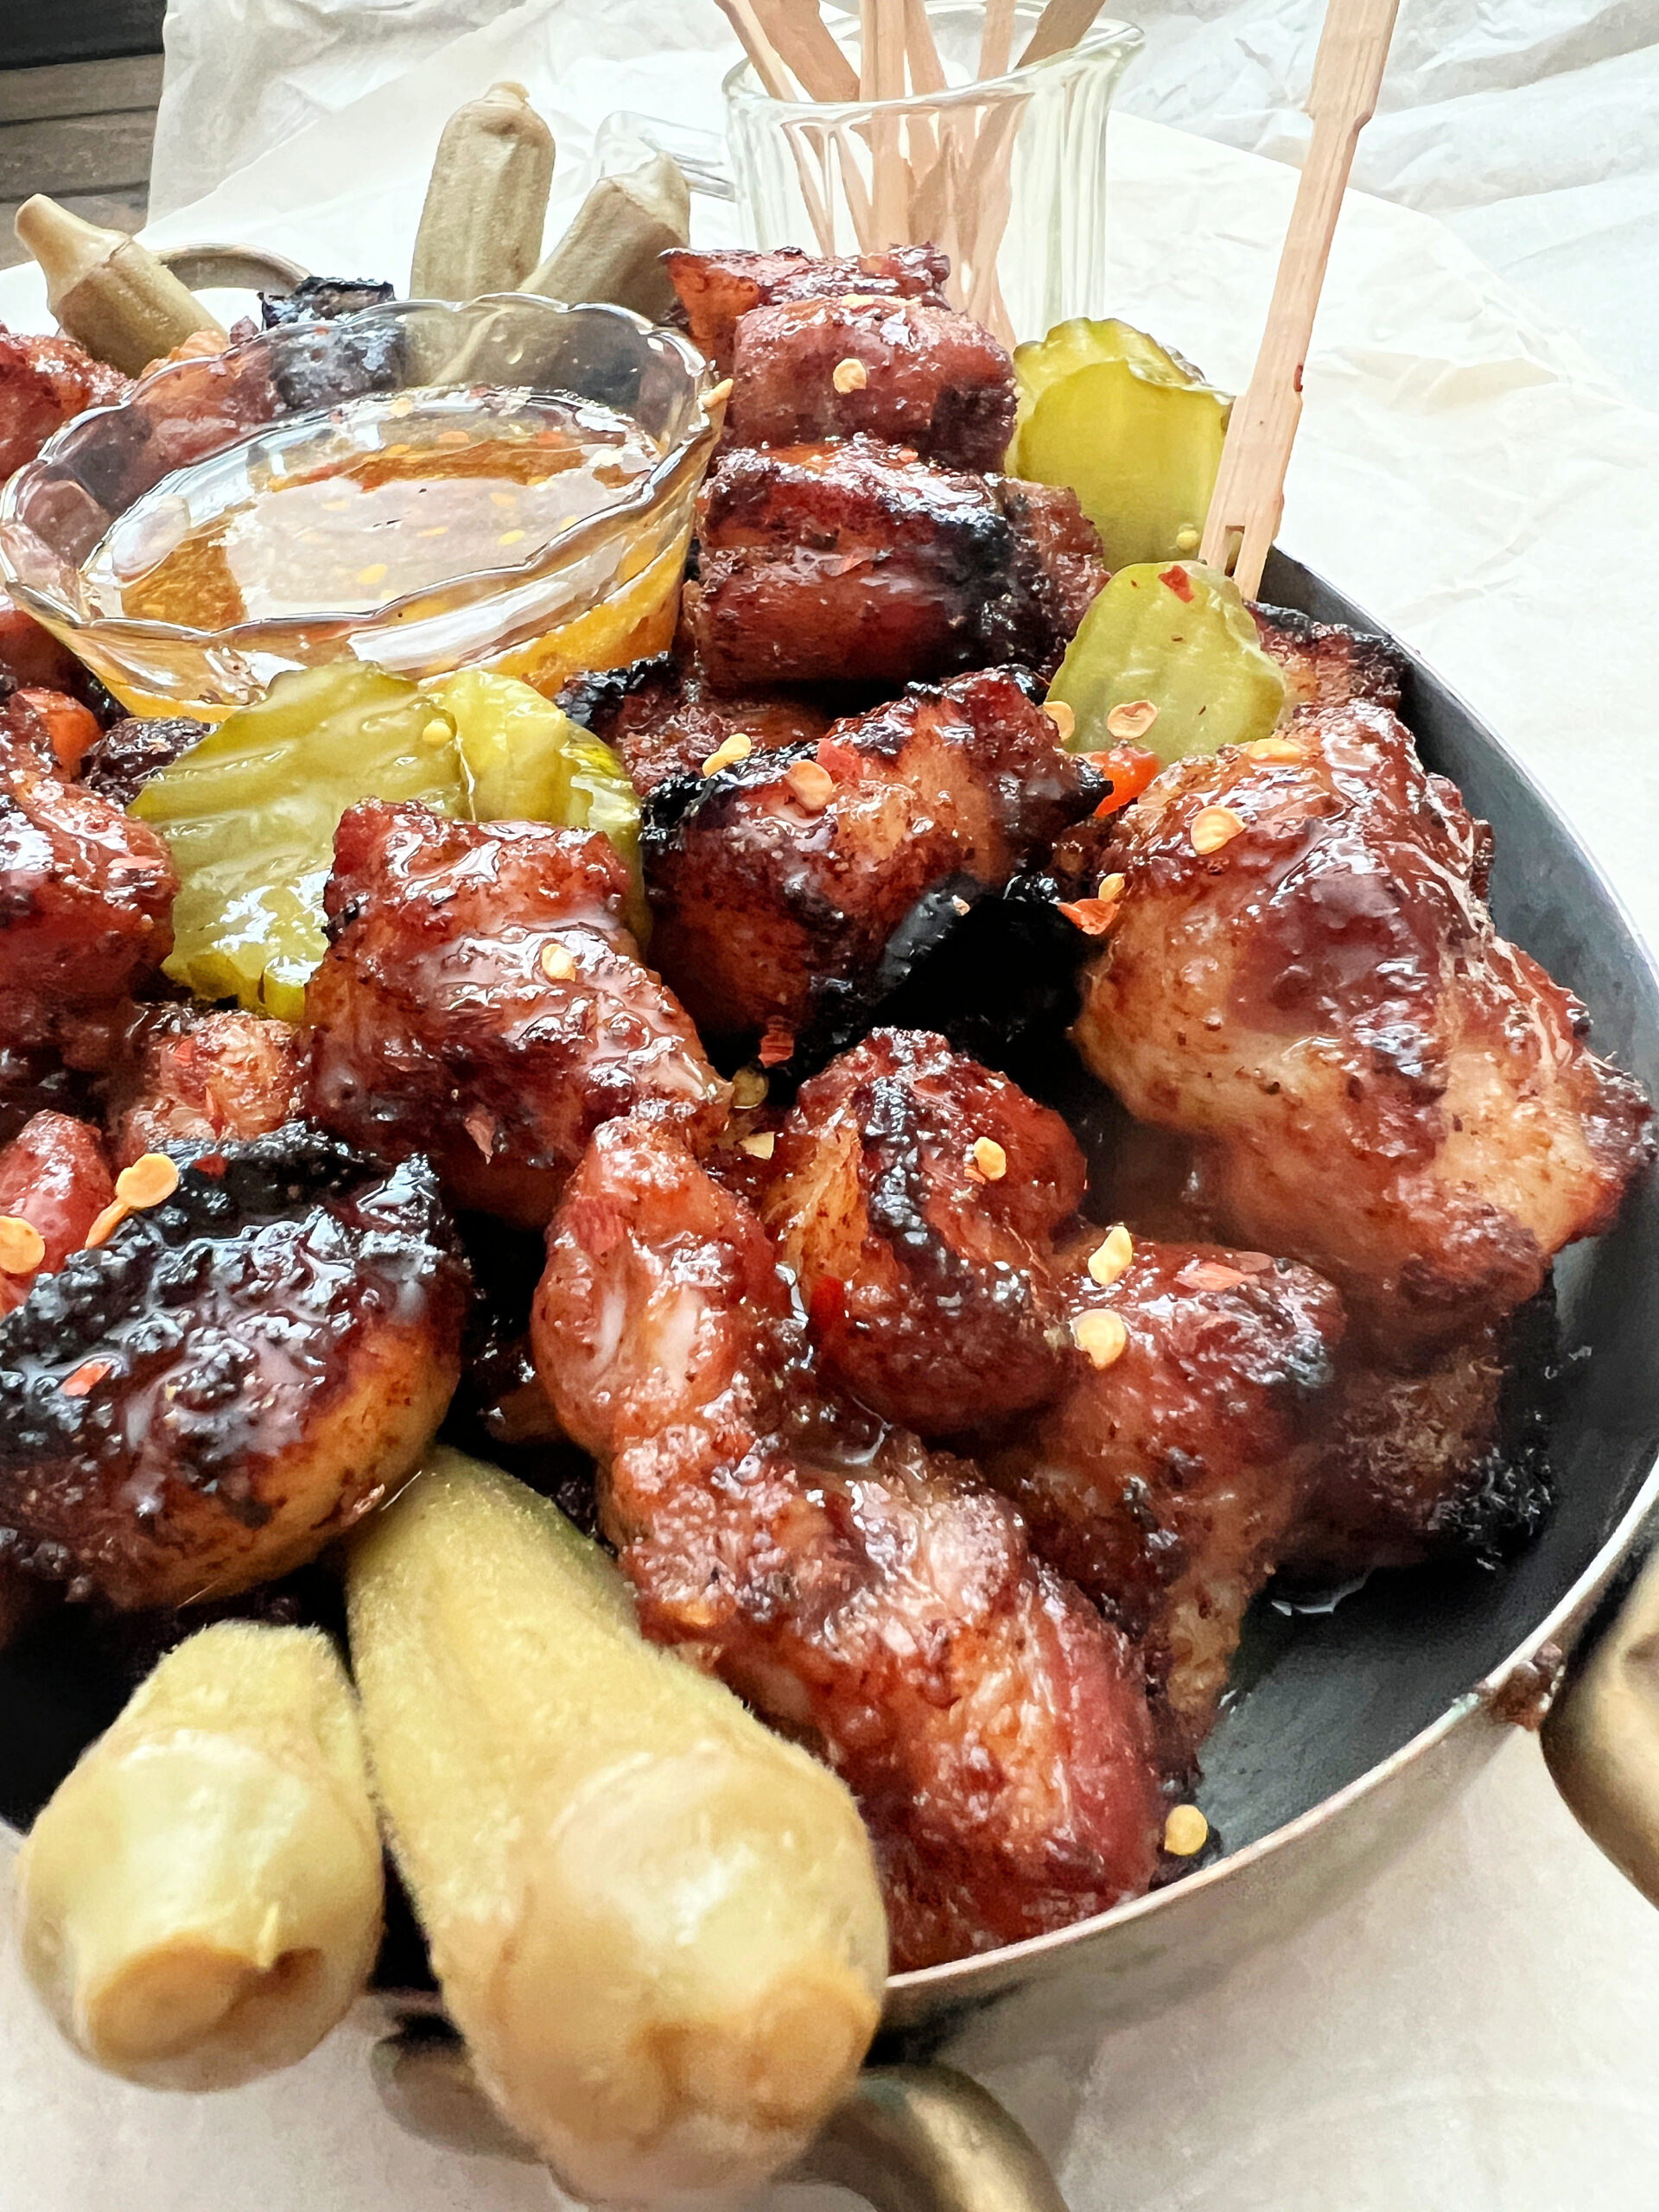
Sweet Heat Sticky Belly Burnt Ends
Did you know pork belly is just unsmoked, uncured bacon?! So if you eat bacon, you eat belly. Cook up a bunch of these sticky burnt ends “pork candy” to nibble during a football game or anytime.
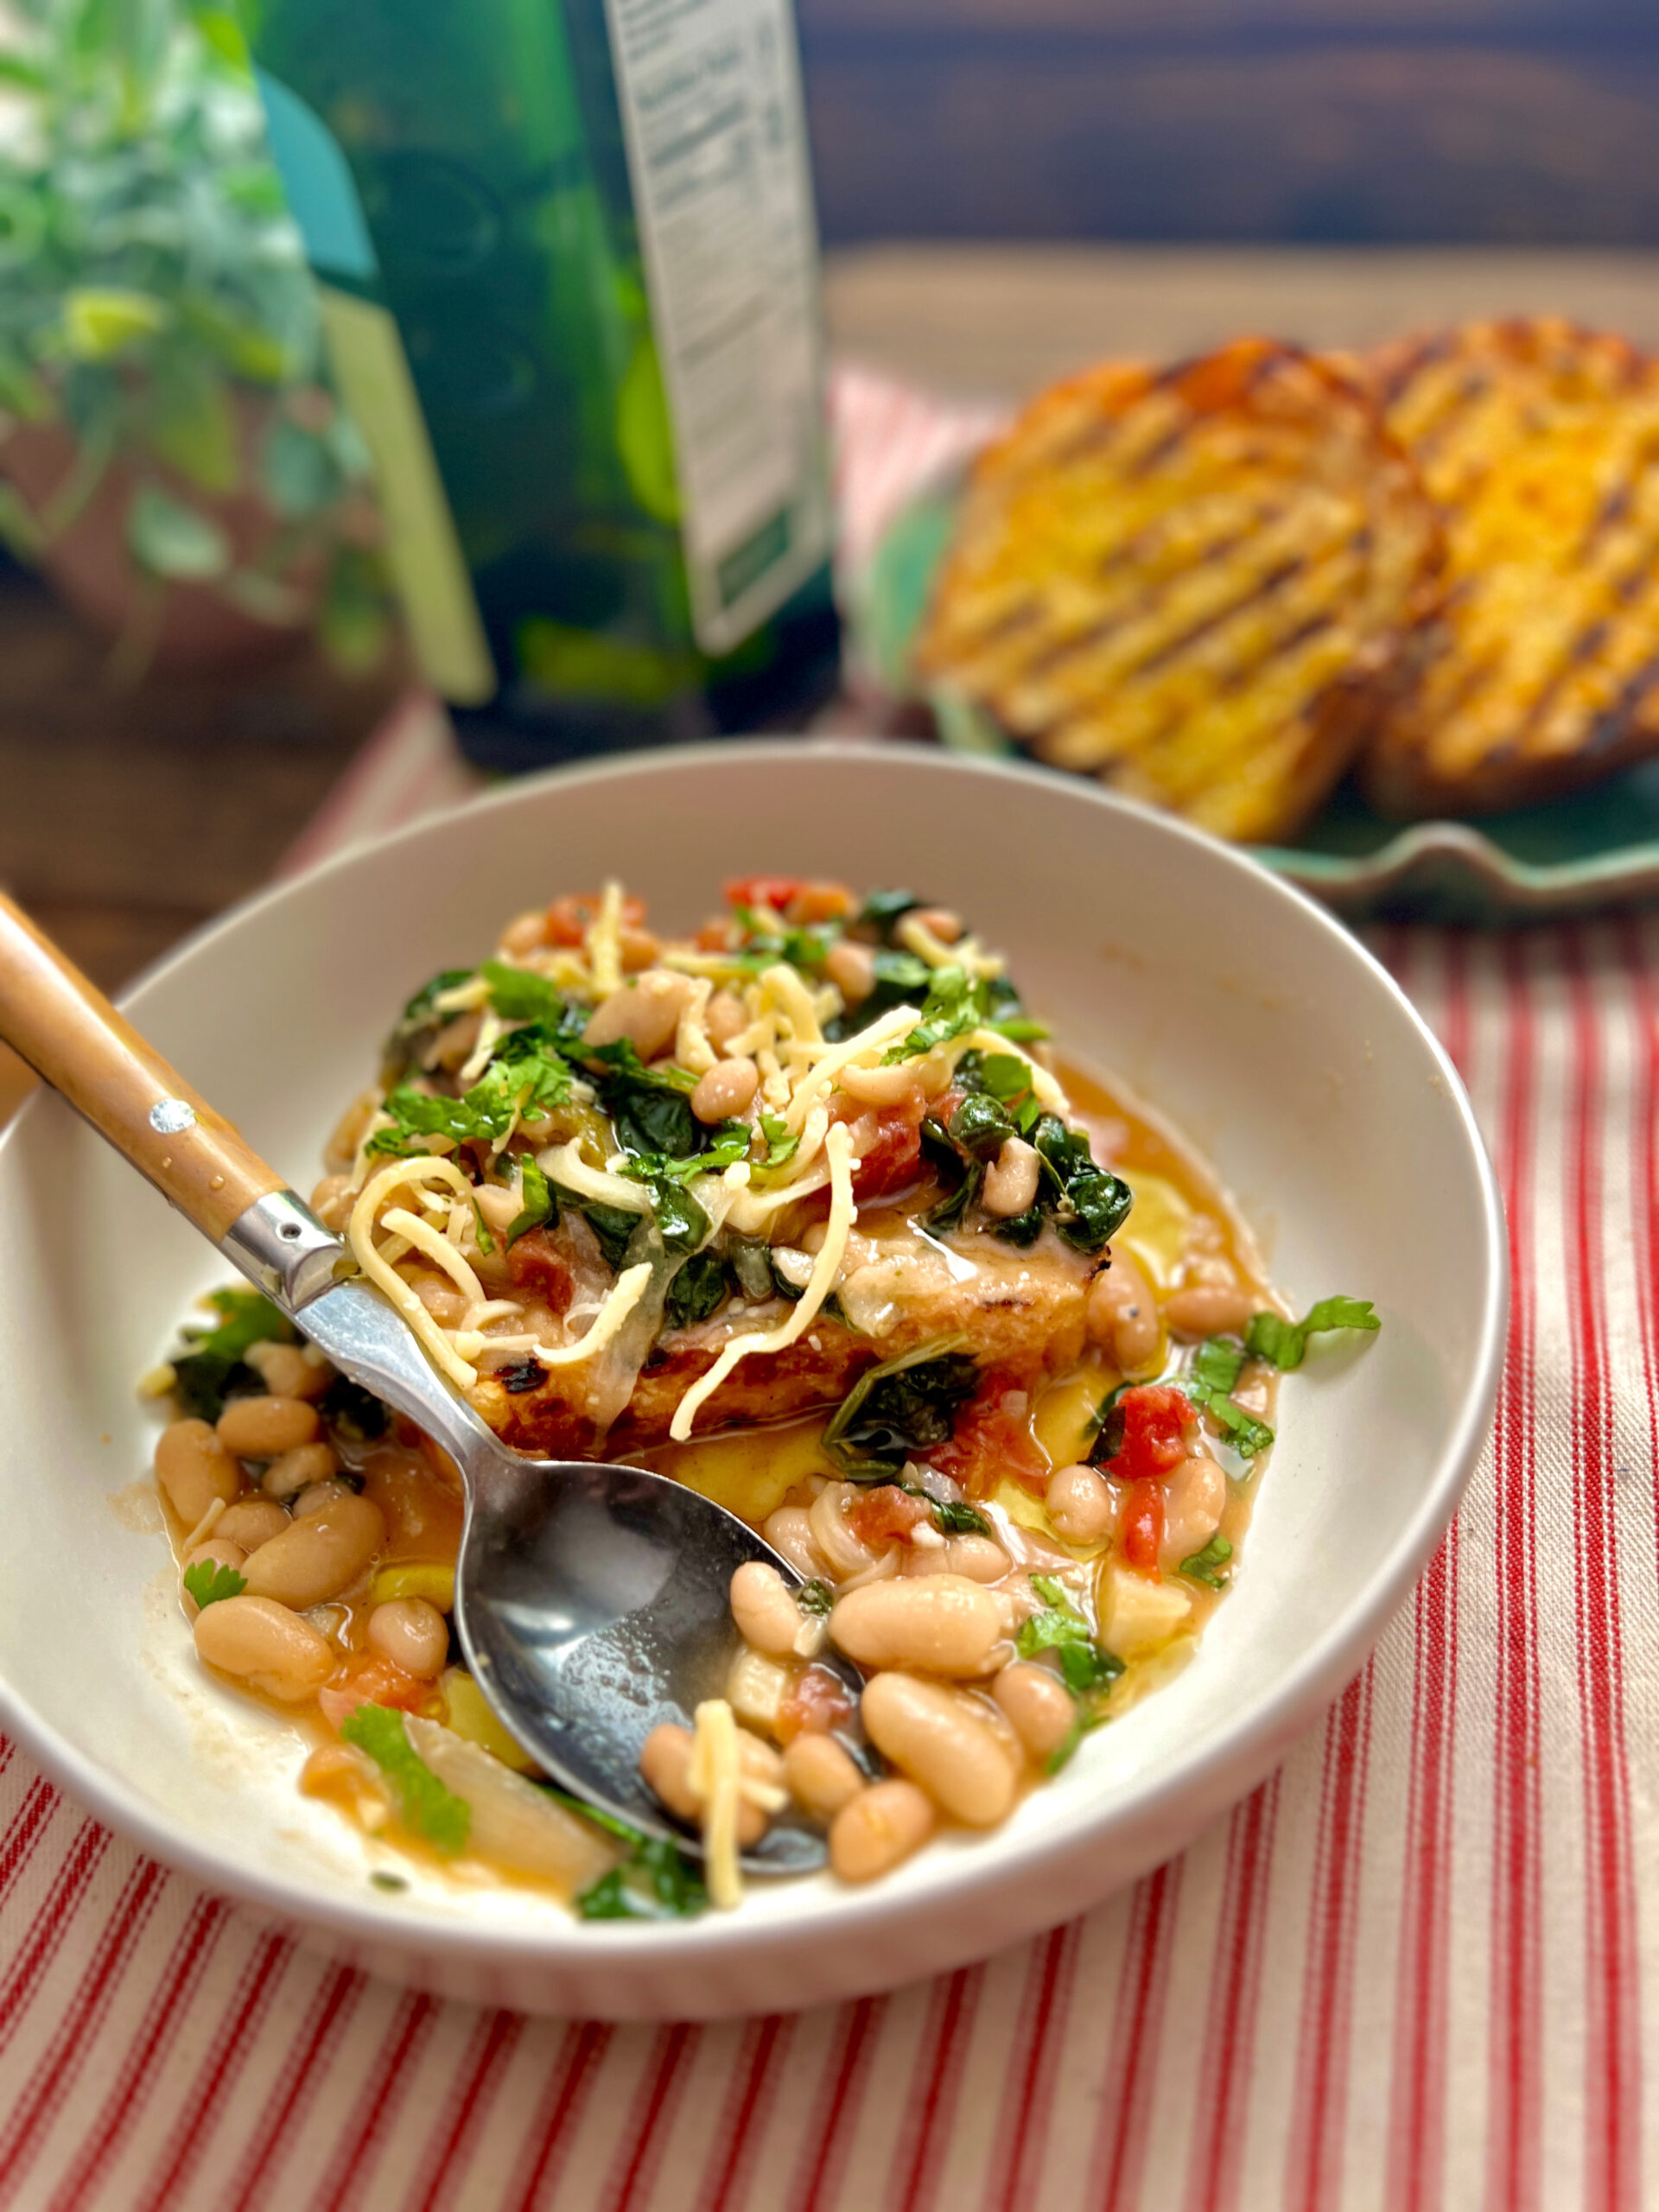
Juicy Beans & Greens… ladled over toast!
Nothing like spooning up a rustic dish of simply prepared beans for a hearty meatless meal. Or add a scoop of my pork belly burnt ends — this is stick-to-your-ribs wintertime food!
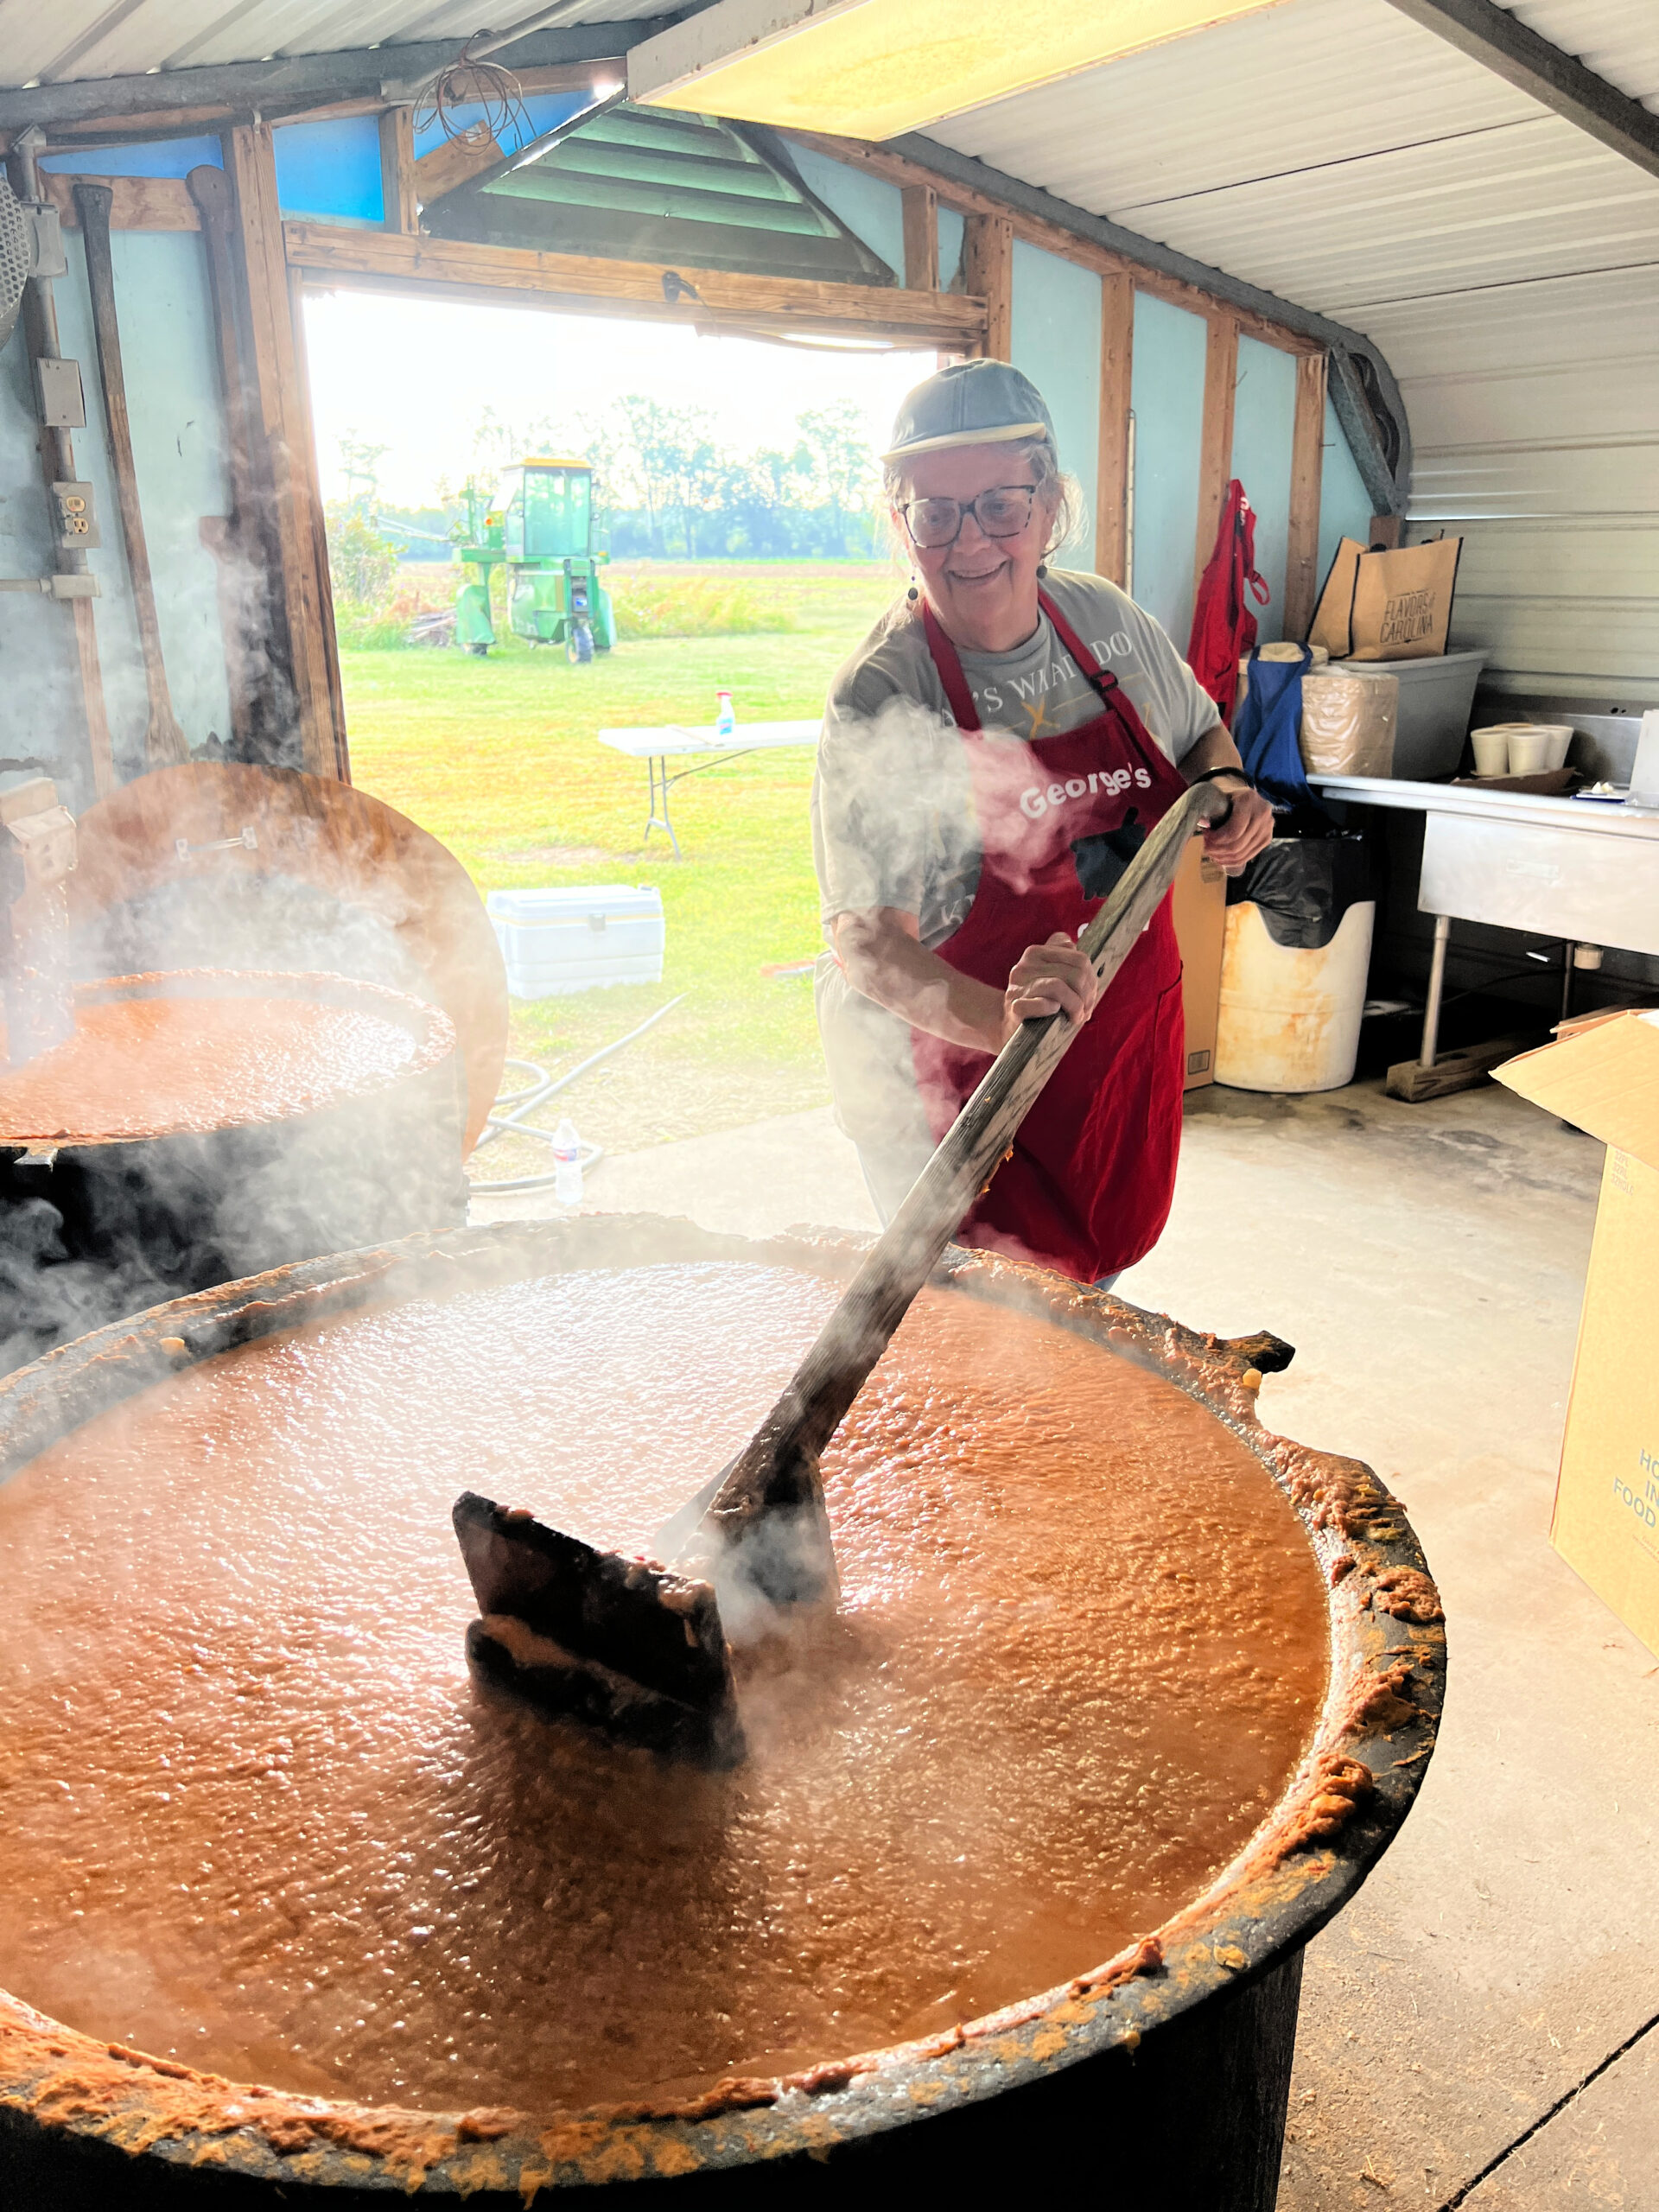
Brunswick Stew by the gallon… a NC culinary adventure!
I love Brunswick Stew. Not all of them, but most. Come along with me on my most recent culinary adventure here in North Carolina… Brunswick Stew cook’n!
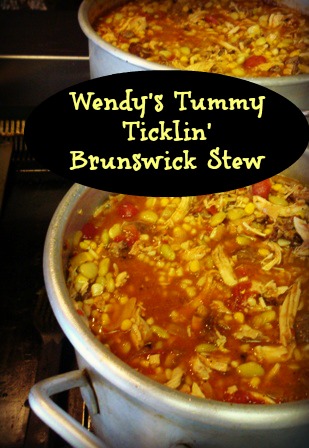
Wendy’s Tummy Tingling Brunswick Stew
Who doesn’t love some good Brunswick Stew? I surely do, and recently set out on a fun culinary adventure penned to paper for Carolina Country Magazine. Read all about it.

Buttery Cinnamon Bun Popovers
How long has it been since you’ve made popovers? These light and puffy pastries are so good, and can be sweet or savory to suit your fancy. Enjoy these lightly sweet popovers as a side for my rustic mushroom soup. Nice and buttery too…
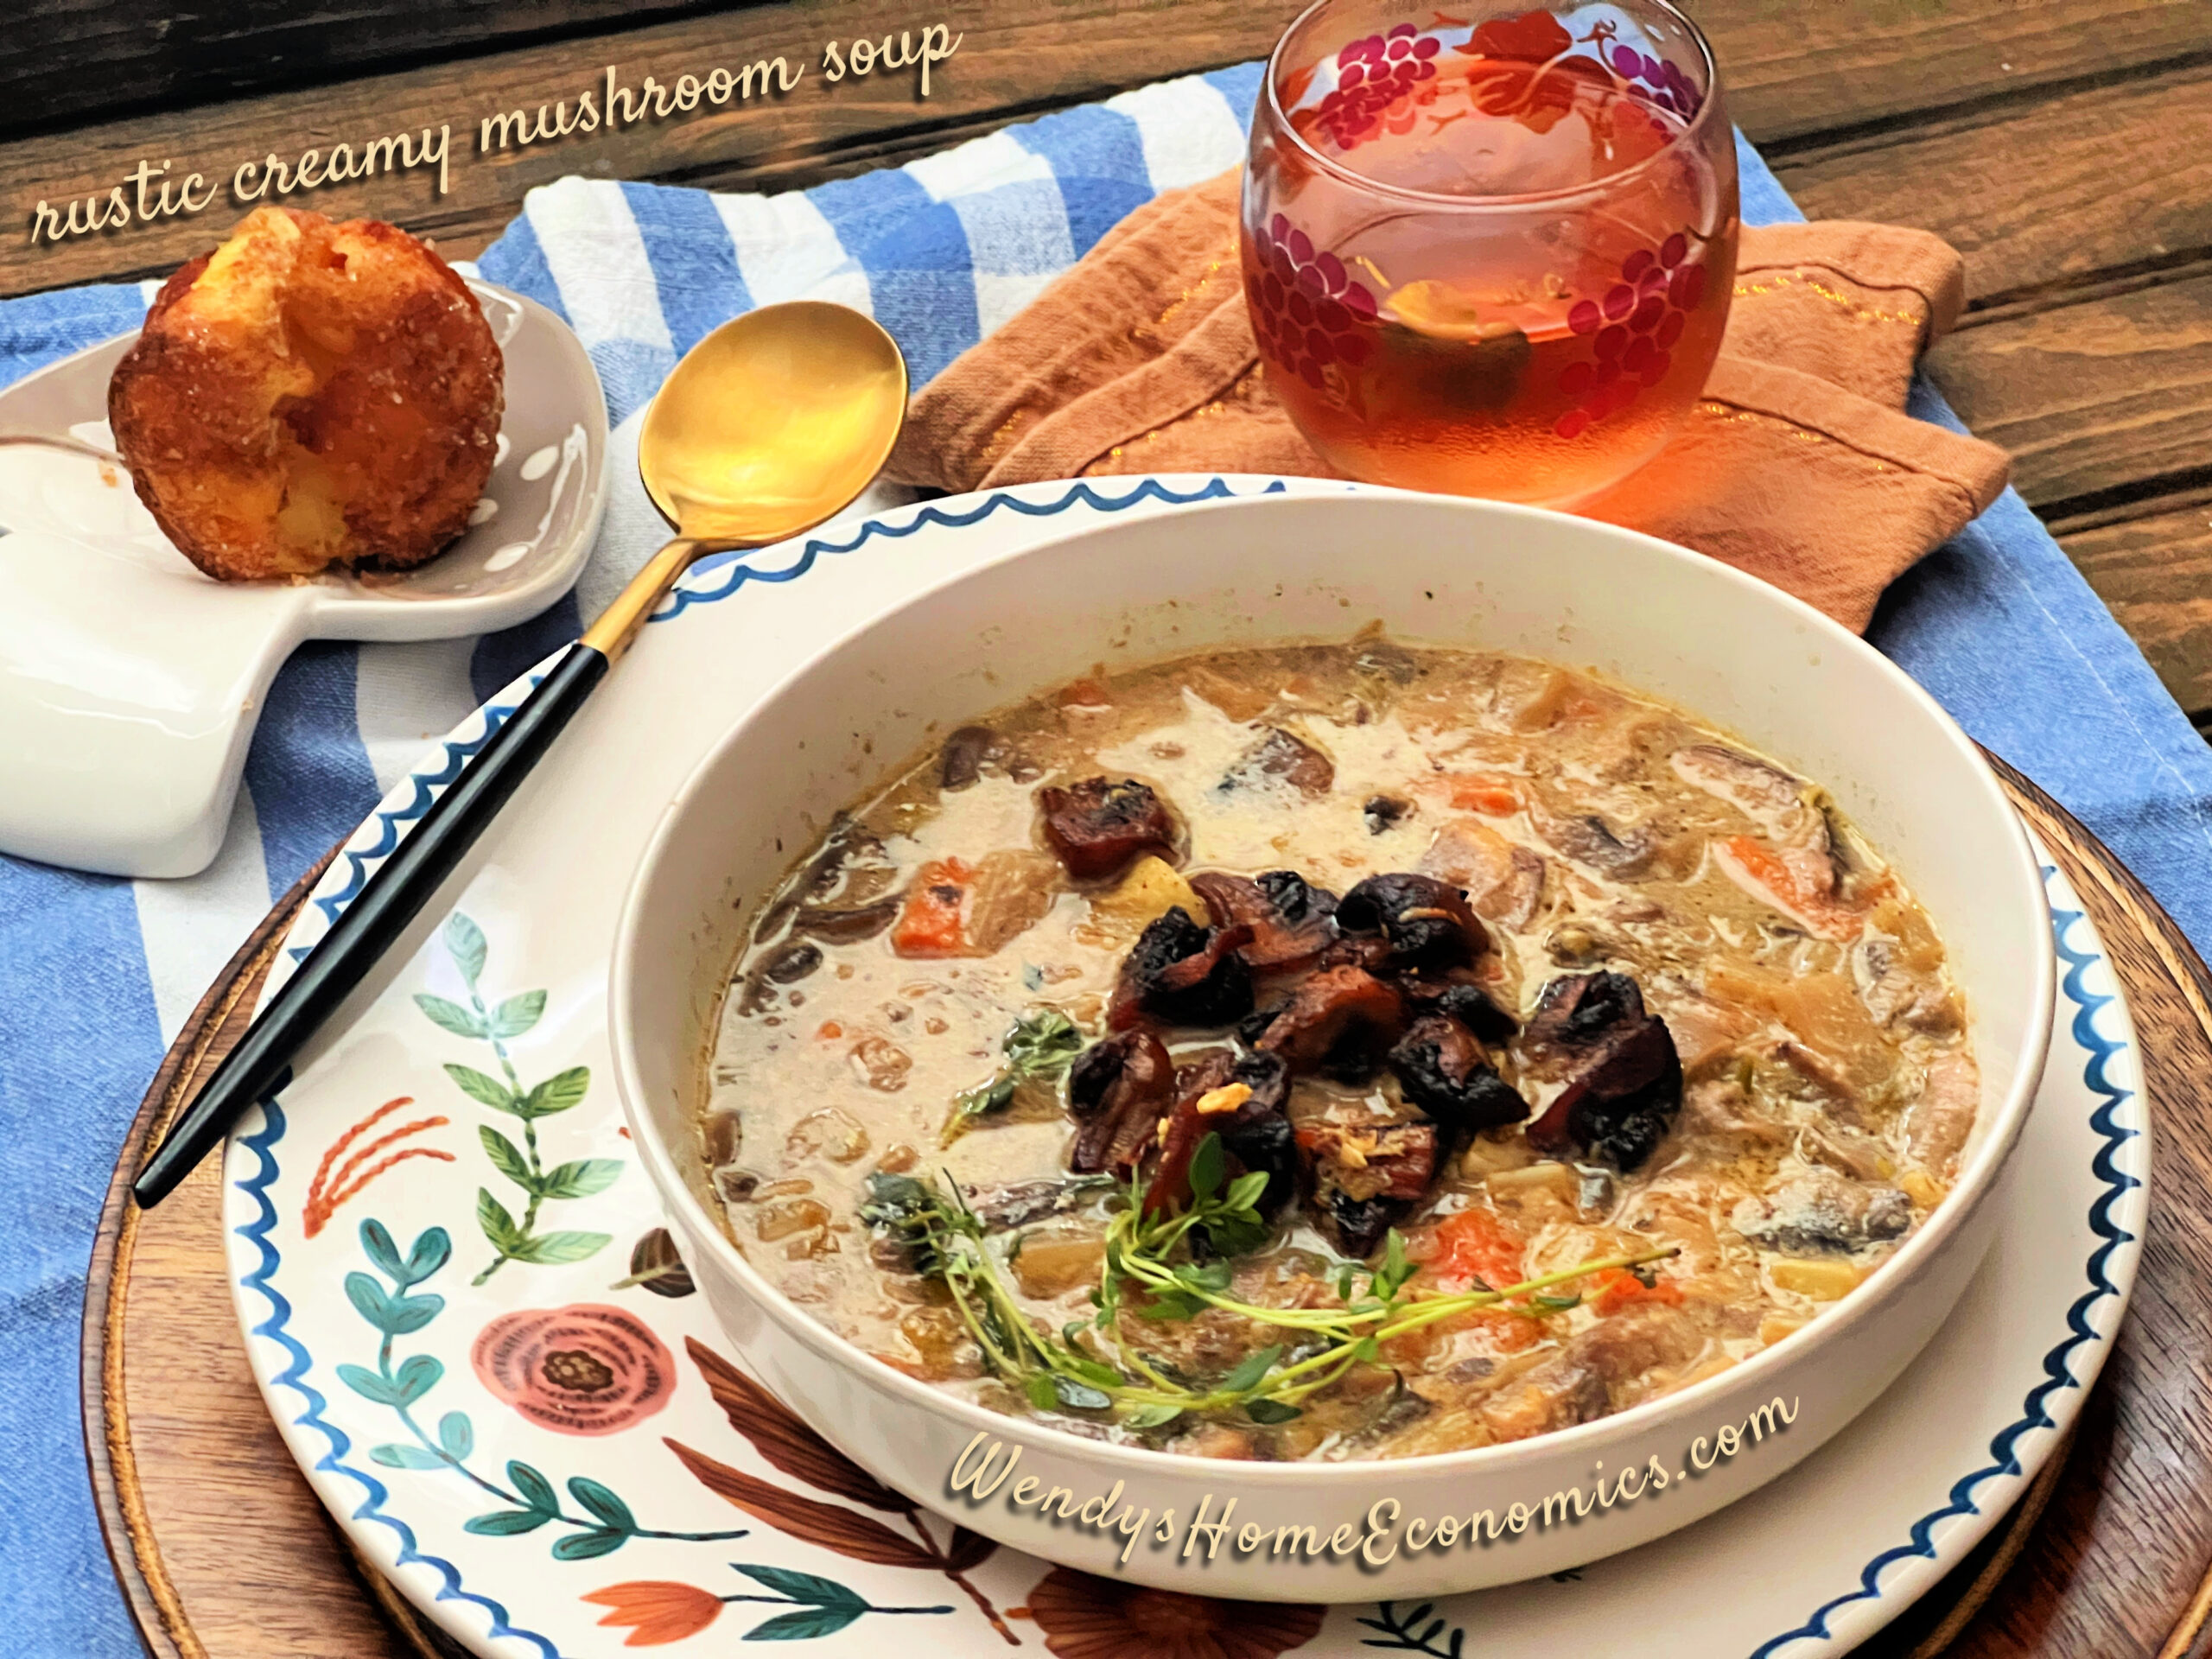
Rustic Creamy Mushroom Soup with crispy mushroom croutons! (also a luscious pot pie filling)
Tis the season… when it’s dark soon after lunchtime. Chill is in the air and we can’t wait to nestle in for a comforting supper, and if in our pajamas, all the better. With a mug of this rustic creamy mushroom soup!
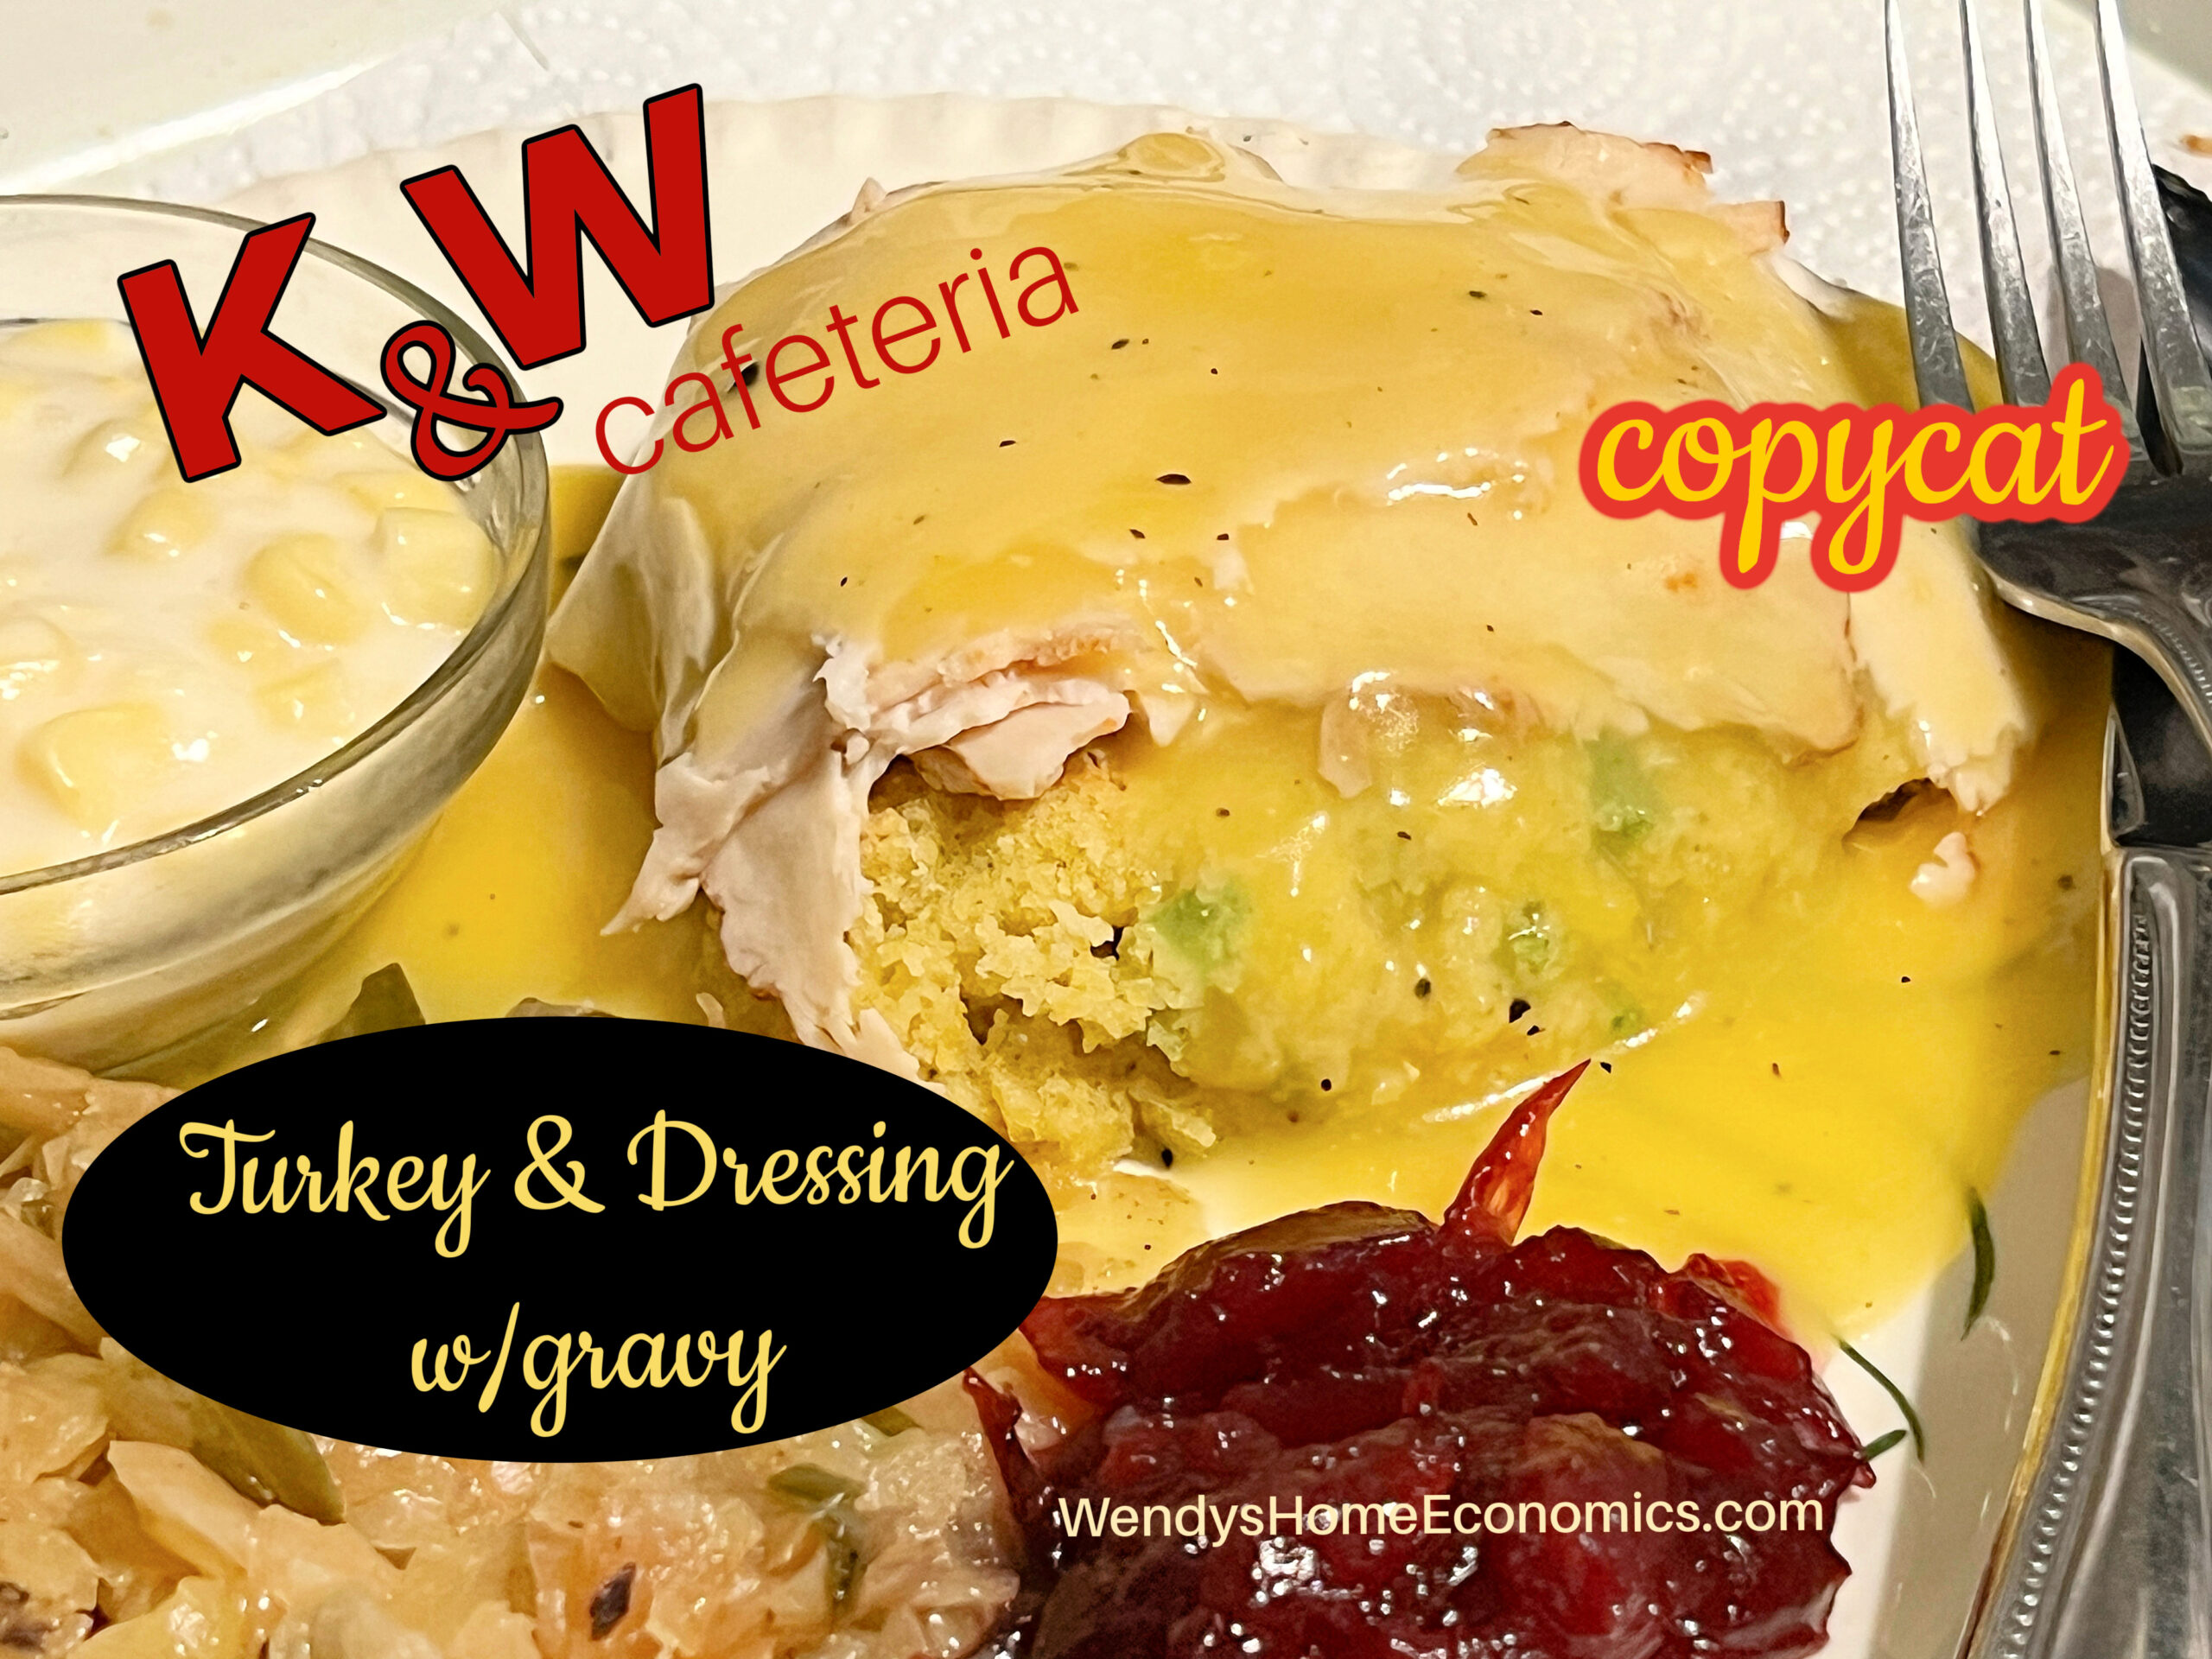
K&W Cafeteria Turkey Dressing & Gravy Recipe (copycat)
Who doesn’t love a good cafeteria? Come with me on a visit to a favorite… K&W Cafeteria Turkey and Dressing. You’ll think you’re sitting right there with this copycat delight.
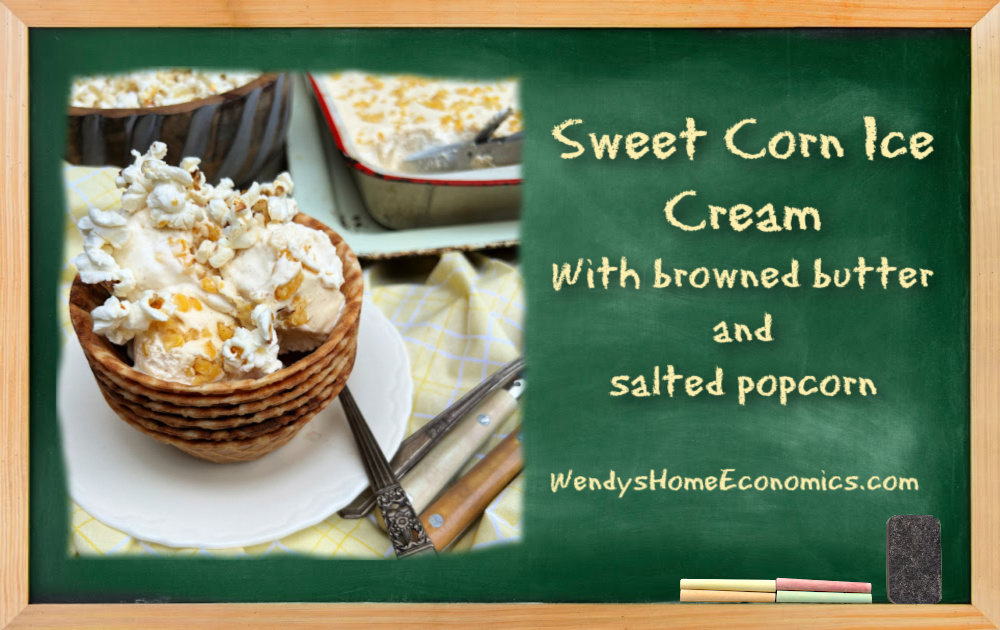
Sweet Corn Ice Cream With browned butter and salted popcorn
An outside-the-box way to enjoy summer corn… the kernels are like little bits of “candy,” yet are simply caramelized nuggets of a vegetable in this luscious ice cream! Who knew corn could be dessert too?
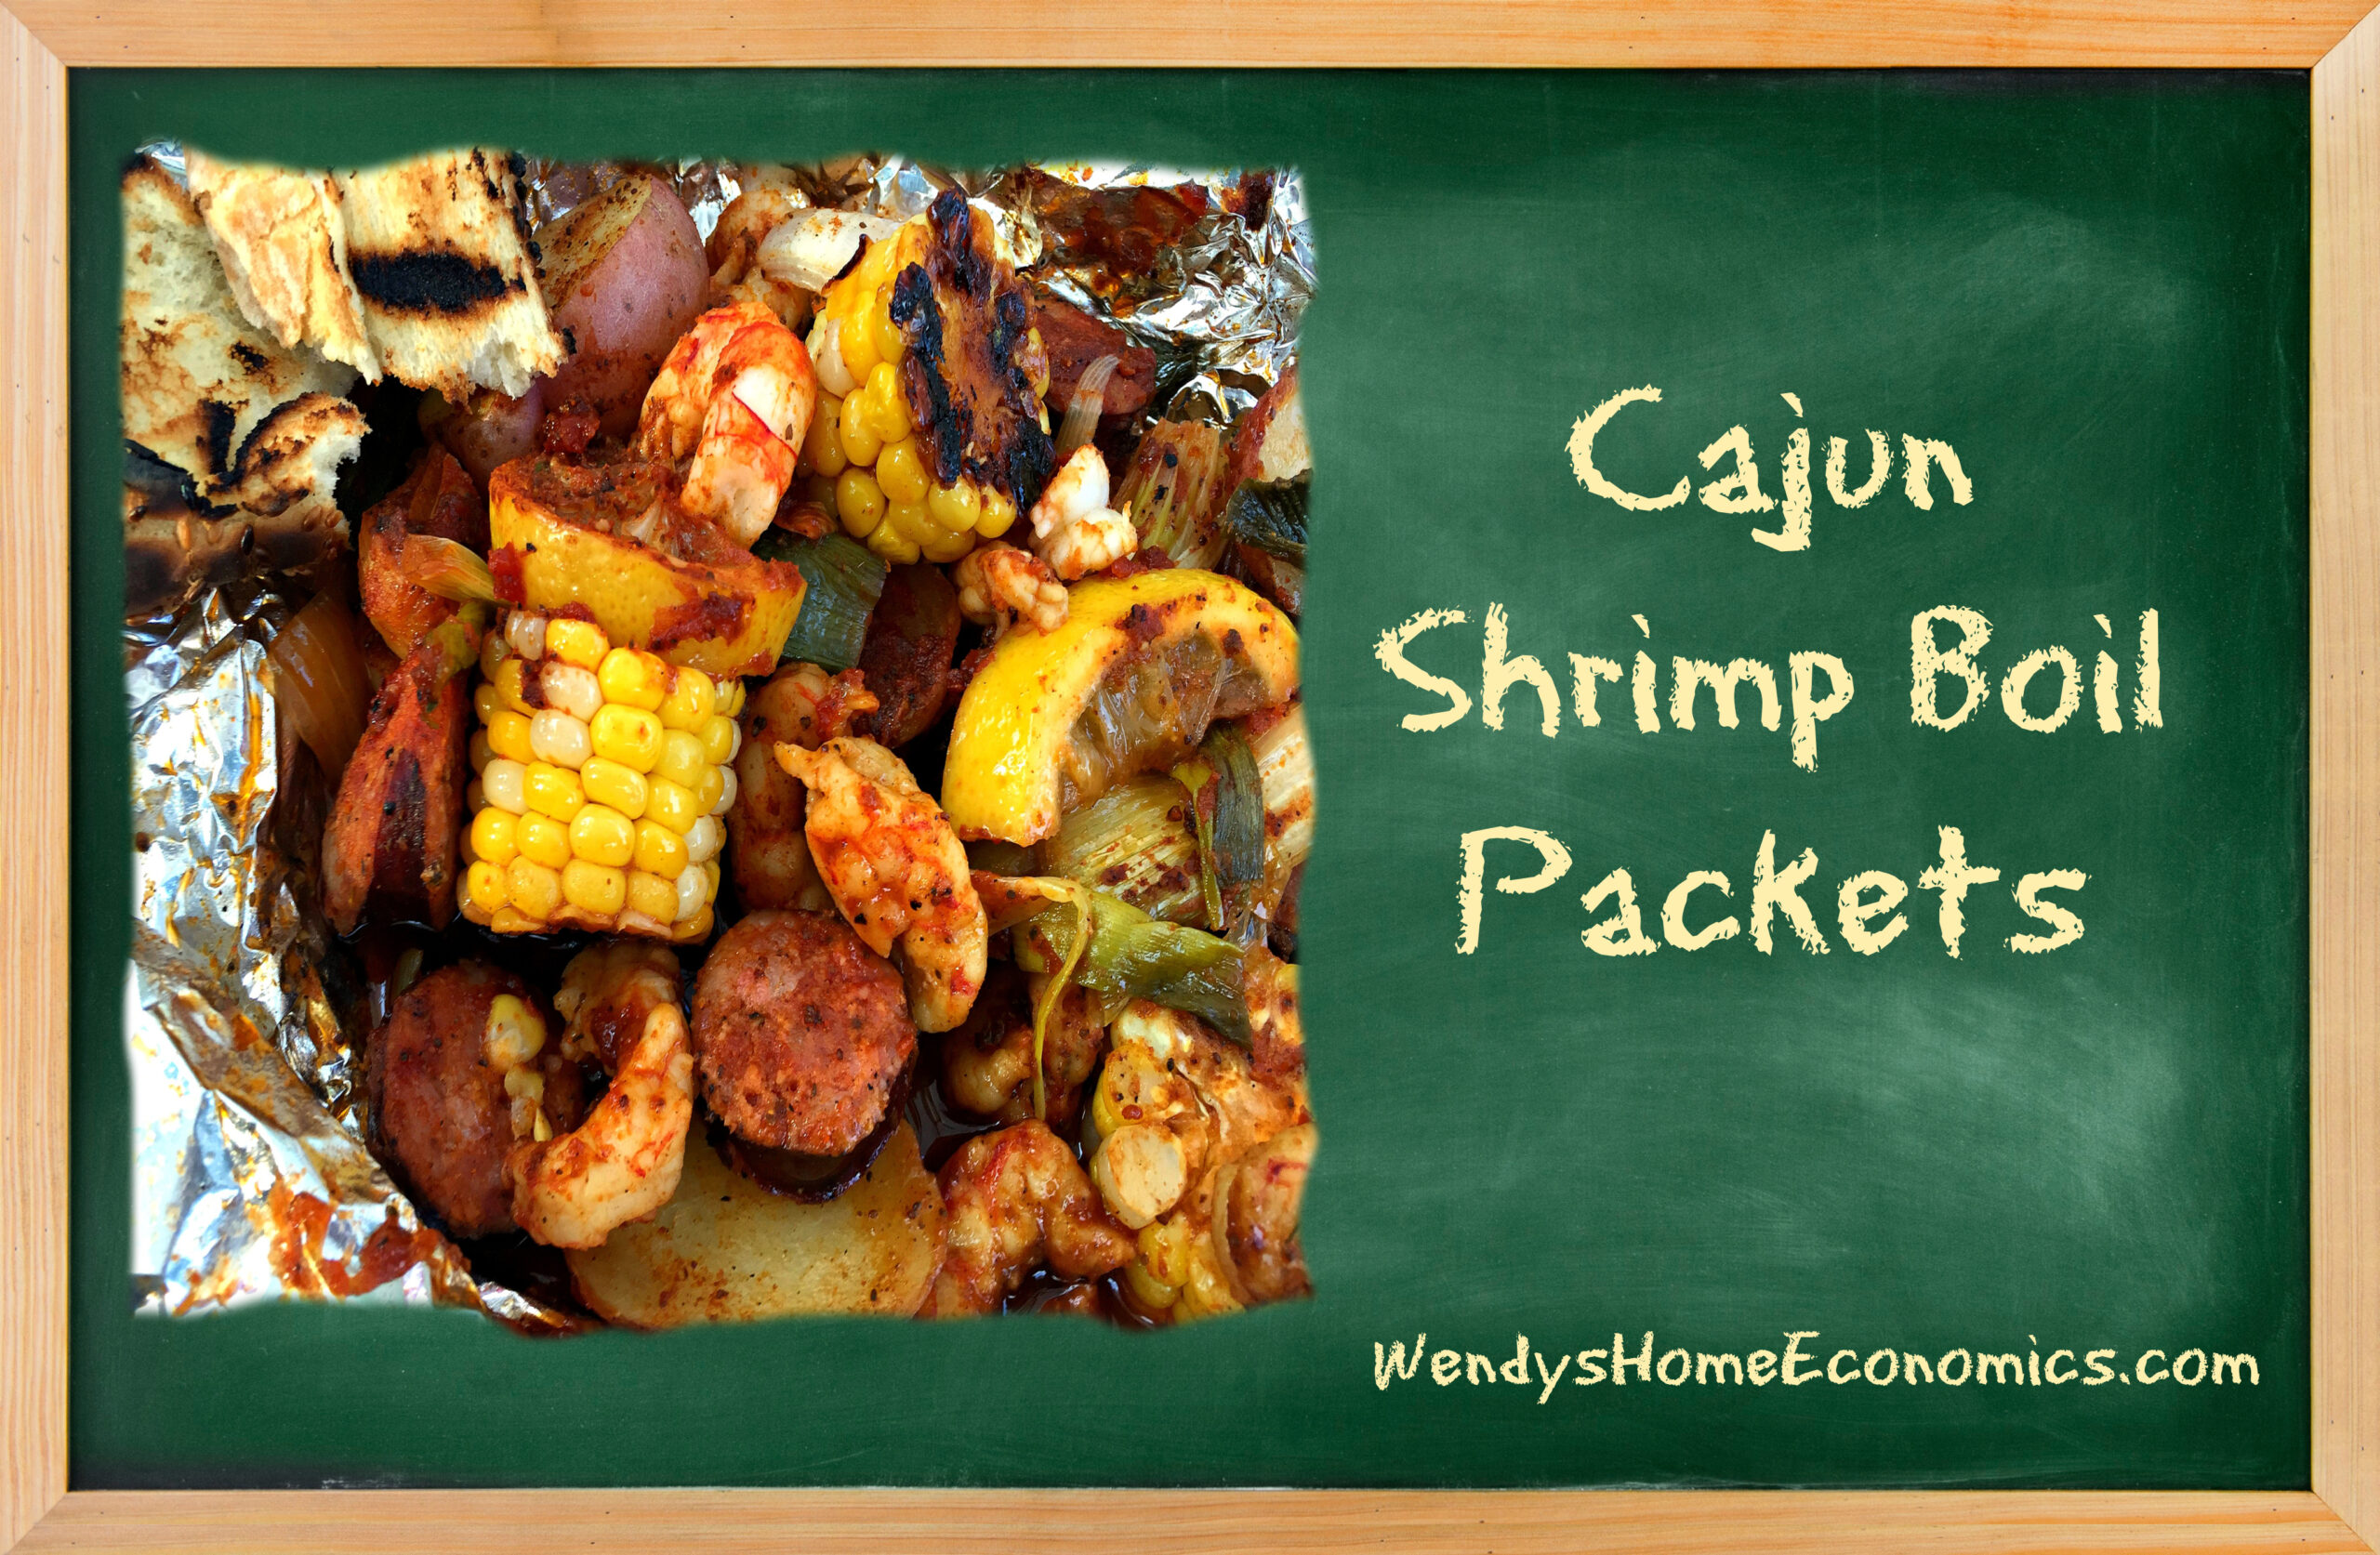
Carolina Cajun Shrimp Boil Packets
Foil packets are perfect for camp cooking on the grill or in hot coals. Make ahead at home and throw in your cooler, or have fun making on site. They come in their own serving “dish” too!
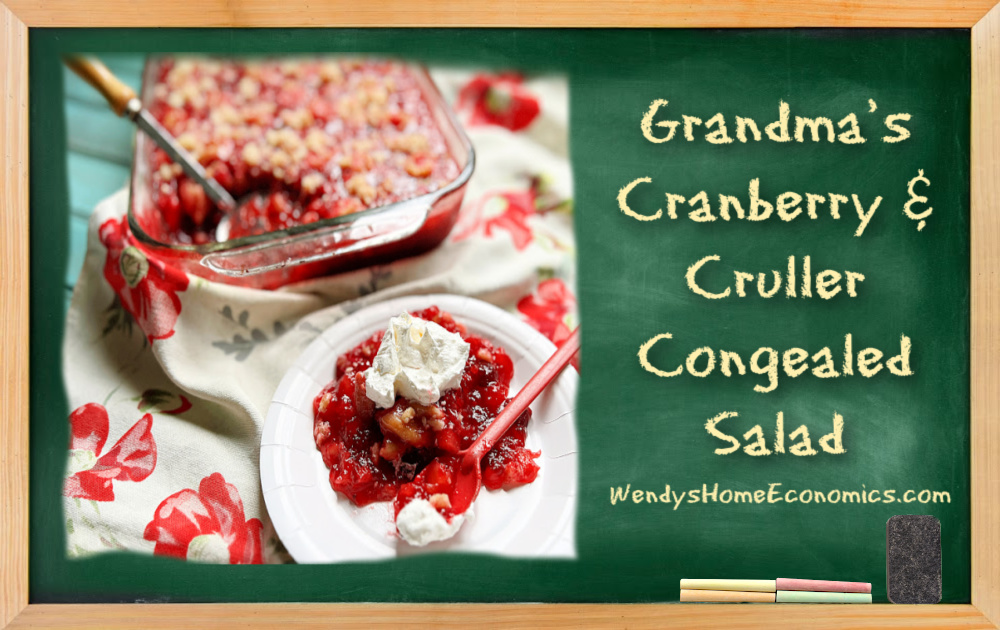
Grandma’s Cranberry Congealed Salad With Krispy Kreme crullers
Growing up, I can never remember a time my Grandma didn’t have a dish of this in her refrigerator. She loved cruller doughnuts and hated waste, breaking up the stale ones into her Jell-O salad. This dish would shine at a summer picnic — don’t forget the Cool Whip!